Uncategorized
Custom Paint With Diamond: Tips and Tricks
There’s nothing worse than getting all geared up to start your new diamond painting projects, only to discover that the canvas is wrinkled. Unfortunately, sometimes the packaging or handling process can leave your canvas with creases, but don’t worry, it’s a common issue with an easy fix! Before you dive into your creative masterpiece, you’ll want to ensure your canvas is wrinkle-free. Whether you’re new to the world of diamond painting or a seasoned pro, getting the canvas smooth is essential for a flawless finish.
In this article, we’ll walk you through the best techniques for removing wrinkles from your canvas and share some insider Custom Paint With Diamonds tips and tricks to help you achieve the perfect diamond painting experience.
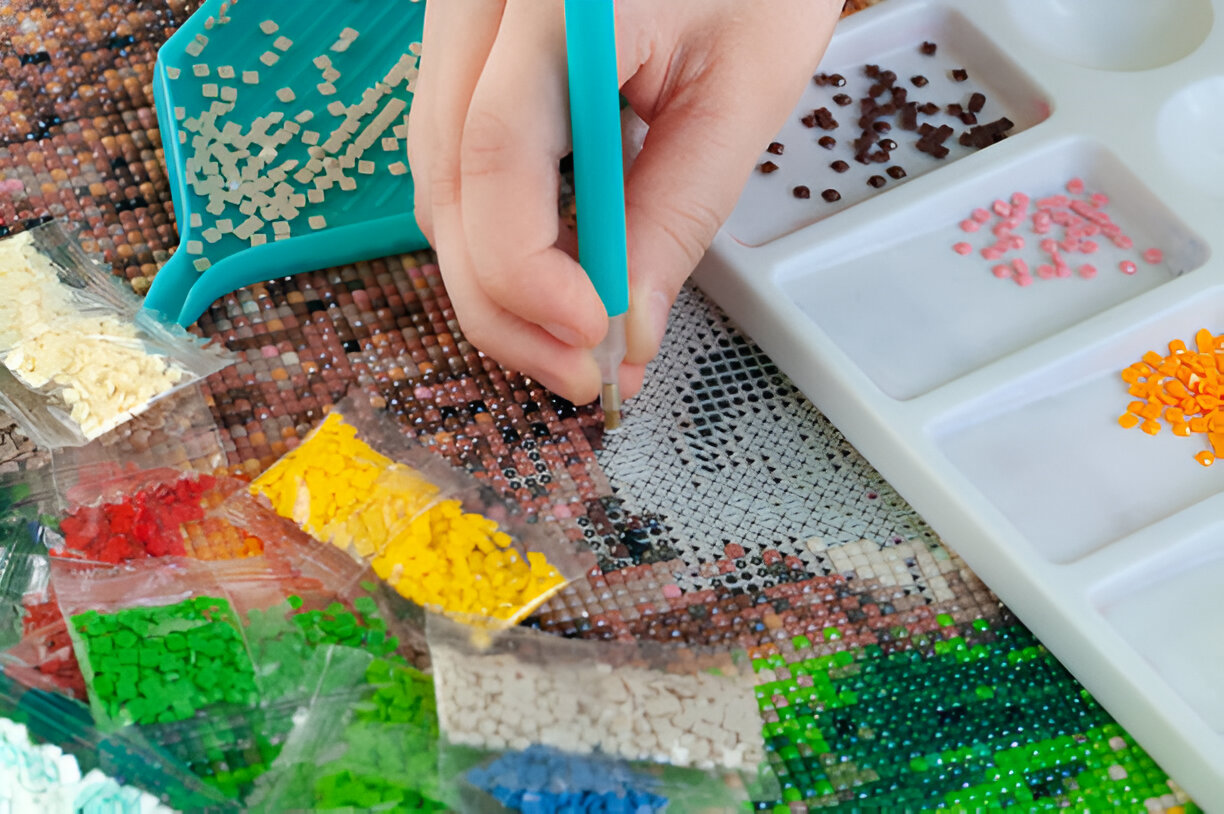
How to Remove Wrinkles from Your Diamond Painting Canvas:
Before you make a start on your new color by Diamonds, you should ensure your canvas is wrinkle-free. If you need to remove any wrinkles from your canvas, you have 2 options.
FLAT IRONING (The Best Method)
One of the most effective ways to get rid of wrinkles on your diamond painting canvas is by using a flat iron. Since diamond painting canvases are typically made from cotton or linen, they can be ironed similarly to clothing. The key here is to use caution and apply just the right amount of heat without damaging the material.
Here’s how to do it:
- Lay your canvas face down on a thick towel or another soft surface to avoid damaging the front side.
- Set your iron to a mid-range heat setting, too much heat could ruin the adhesive on the canvas.
- Lightly mist the back of the canvas with water using a spray bottle. Remember, you don’t need to soak it, just dampen the surface.
- Gently iron over the canvas, keeping the iron moving continuously to prevent burning or sticking. The creases will begin to smooth out after a few passes.
After a few minutes of ironing, your canvas should be smooth and ready to go! This method works best for minor wrinkles and folds.
Stretch and Roll
If ironing your simple canvas paintings makes you a little anxious, you can attempt to remove the wrinkles by stretching and rolling them instead. One way to accomplish this is to place your canvas face down on a clean, flat surface and lightly spray the back of the canvas with water. Carefully begin to pull the canvas to smooth out the wrinkles either by hand or with a clean rolling pin, applying gentle pressure as needed. Once the canvas is fully dried, the creases will vanish.
Here’s how to stretch and roll your canvas:
- Place your canvas face down on a clean, flat surface.
- Lightly spray the back of the canvas with water, just as you would in the ironing method.
- Carefully stretch the canvas by gently pulling the edges to flatten the wrinkles.
- Use a rolling pin (or your hands) to apply light pressure and smooth out the surface. Roll from the center outward to eliminate the creases.
- Allow the canvas to dry completely before beginning your diamond painting.
Once dried, you’ll find the canvas has significantly fewer wrinkles, and in many cases, they’ll be completely gone.
Paint With Diamonds “Tips & Tricks“
Now that you’ve got your canvas prepped, it’s time to dive into the world of diamond painting! Whether you’re new to this relaxing hobby or looking to enhance your technique, the following paint with diamonds tips and tricks will make your painting experience even smoother.
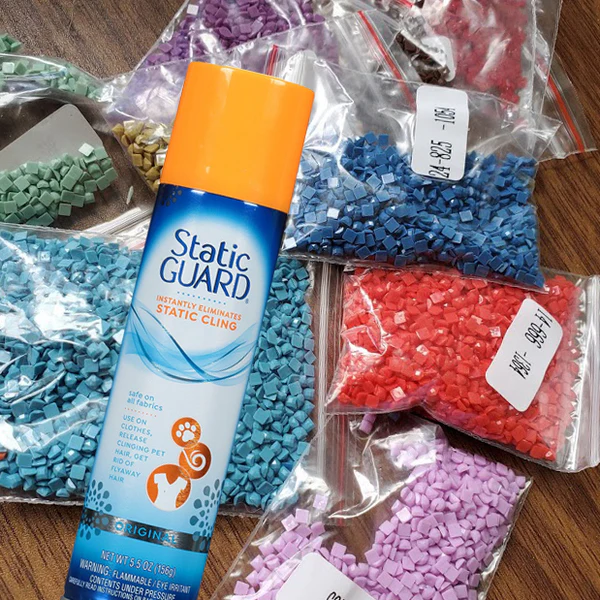
1. Combat Static Cling with Fabric Spray
Ever find your diamonds sticking together like they’ve formed a tiny, clingy army? Combat the static by using a little Static Guard Fabric Spray. Just spritz a small amount on your diamonds to separate them easily and prevent them from clumping together during the painting process.
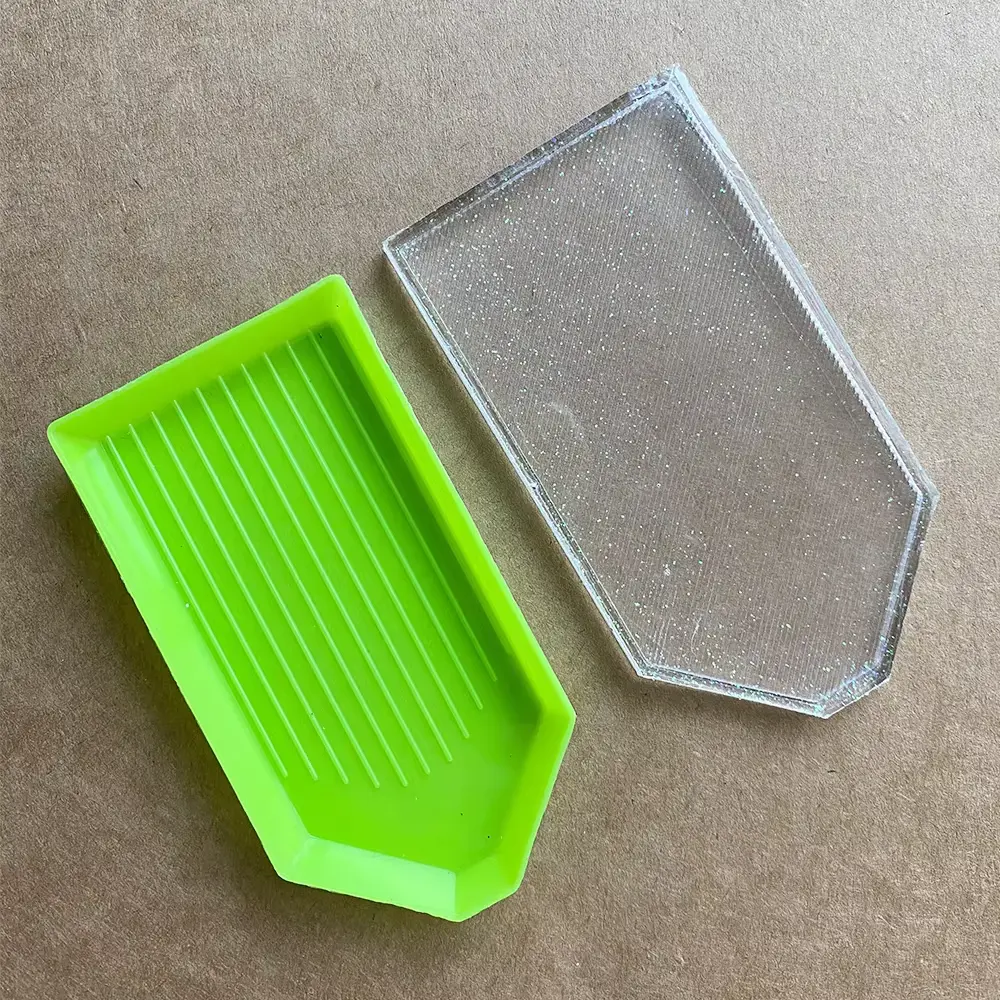
2. Break Up Diamond Clumps with Trays
Don’t worry if your diamonds come out of the bag fused together. There’s no need for complicated tools, just use two diamond painting trays! Stack one on top of the other, apply gentle pressure, and you’ll hear that satisfying “pop” as the diamonds separate.
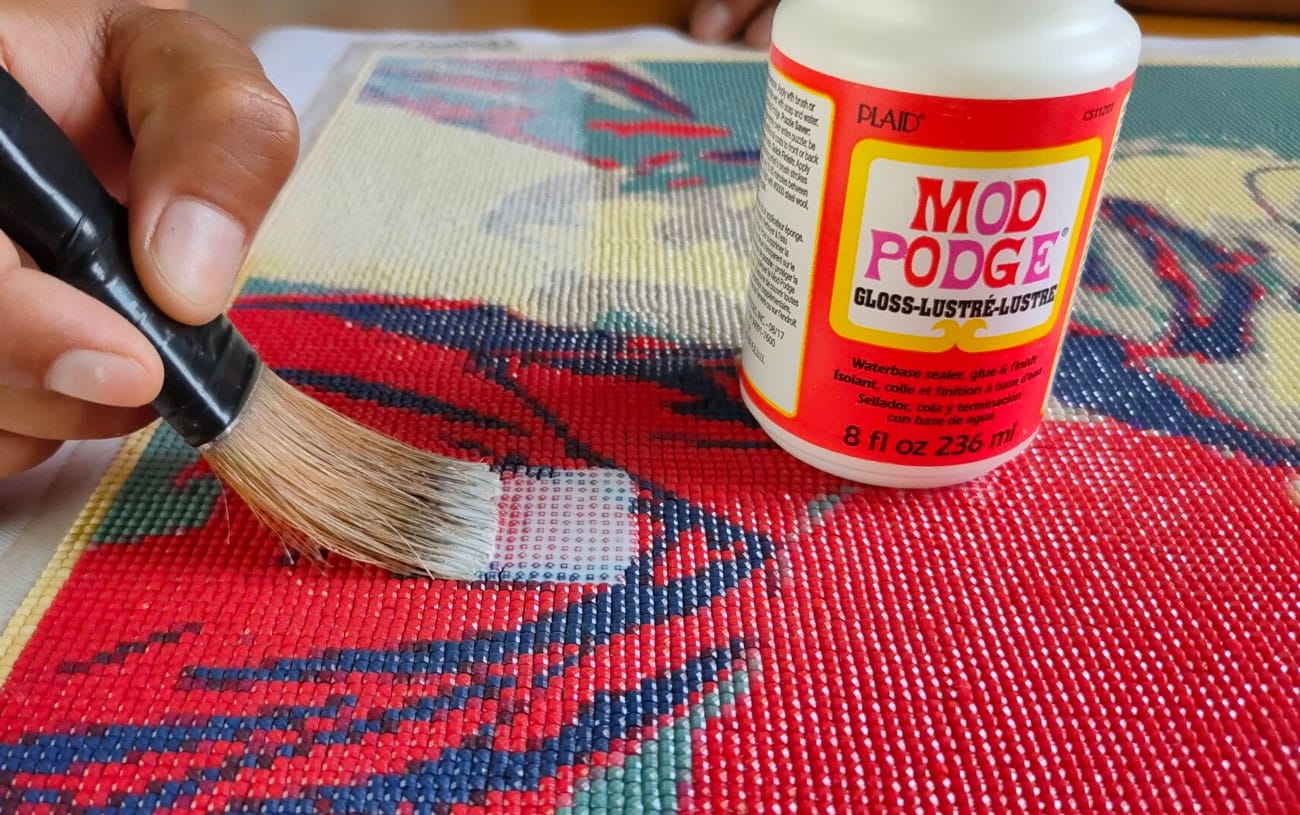
3- Seal Your Completed Canvas for Longevity
Once you have finished your diamond painting (congratulations!), you’ll want to preserve it for years to come. Grab some Mod Podge or other craft diamond paint sealer and apply a thin layer to secure the diamonds in place. This will prevent them from falling off over time and give your artwork a long-lasting finish.
4- Remove the Legend with Nail Polish Remover
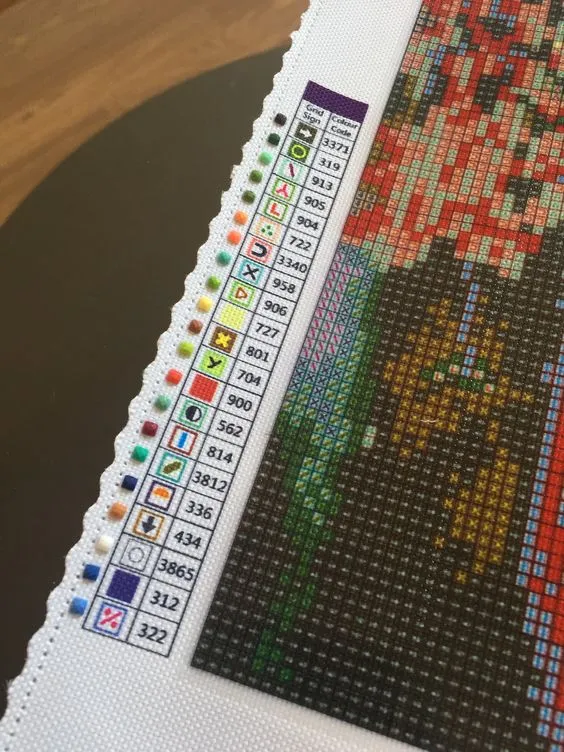
Sometimes when you frame a diamond painting, the printed guide (the grid with symbols) can show around the edges of the frame. To avoid this, use nail polish remover or acetone on a cotton pad and gently rub the edges of the canvas where the grid is printed. This will erase the symbols or any unwanted text, leaving your painting looking neat and professional once framed.
5- Use the “Checkerboard Method” for large areas with the same color
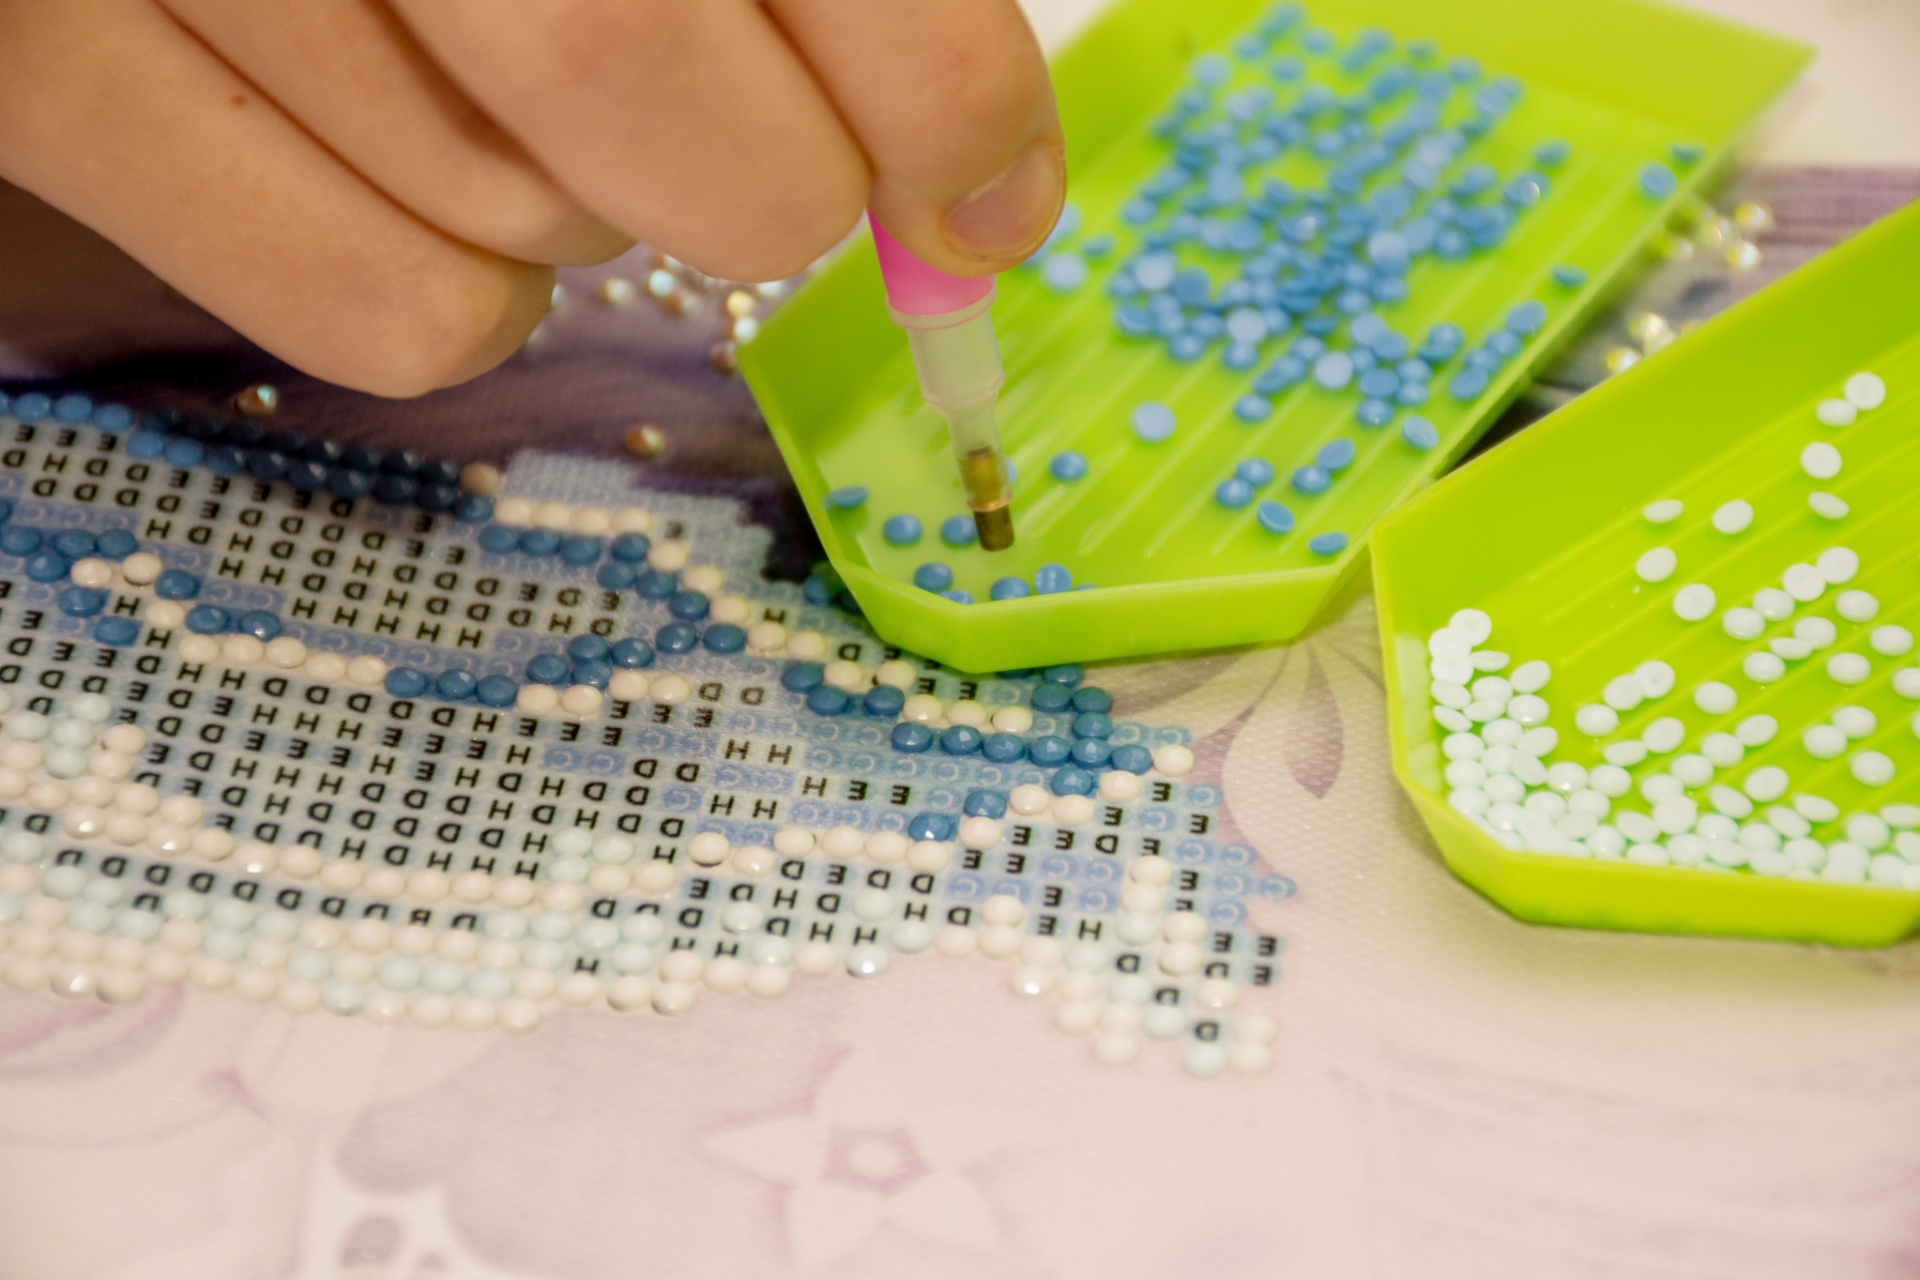
Tackling large sections of solid color can be a bit tedious. Break up the monotony by using the Checkerboard Method. Instead of filling in one block at a time, alternate between placing diamonds in a checkerboard diamond painting pattern. This technique not only keeps things interesting but also helps ensure straighter lines and neater diamond placement.
6. Adhere Diamonds Next to Their Symbol
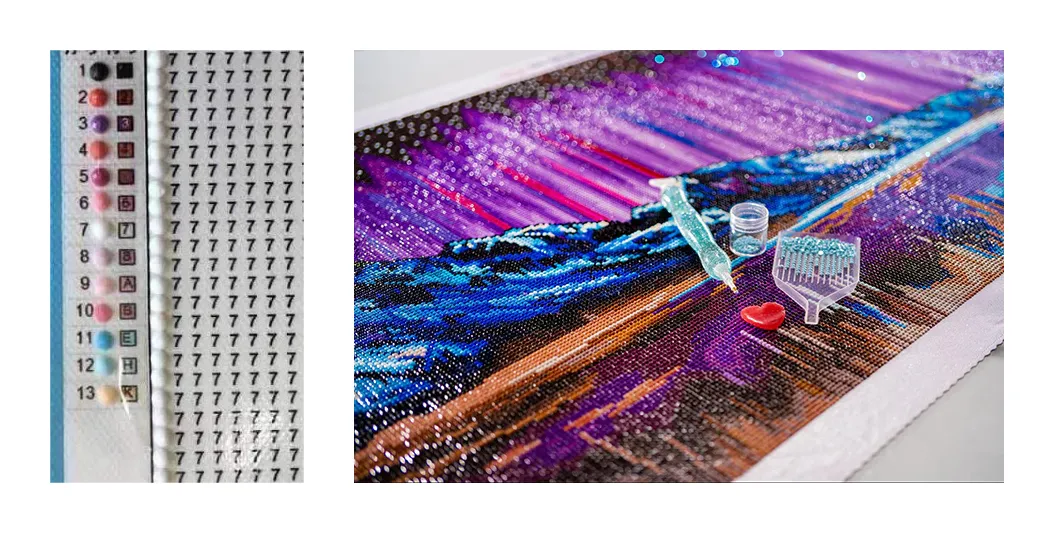
To keep things organized, spend a few minutes adhering the diamonds beside their corresponding symbols on the canvas before starting. You can use Diamond Painting glue or tape to attach them. This makes it easier to find the correct diamond at a glance and saves time in the long run.
7. Use Wax Alternatives Like Putty
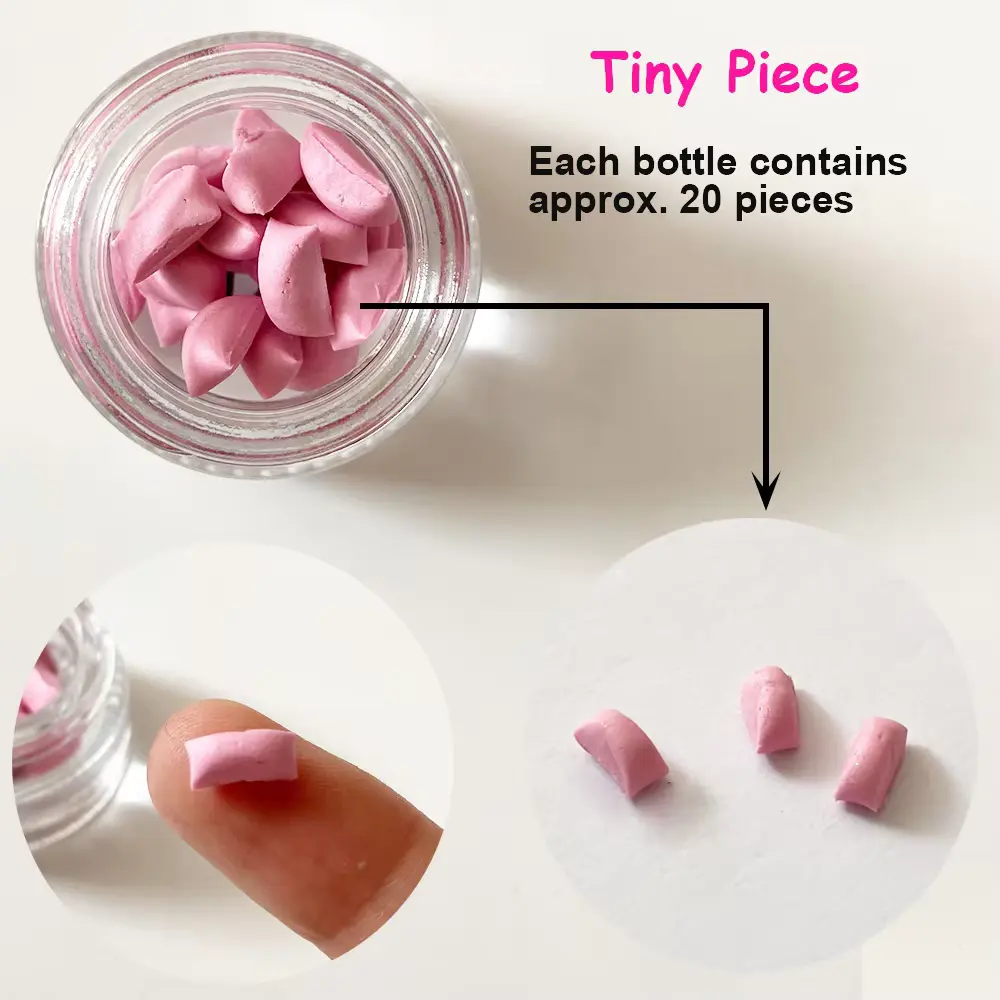
Running out of wax in the middle of a project? No problem! Putty or Playdough can be a great alternative for picking up diamonds. While it may not be as precise as wax, it’ll definitely do the trick in a pinch.
8. Store Extra Diamonds for Future Projects
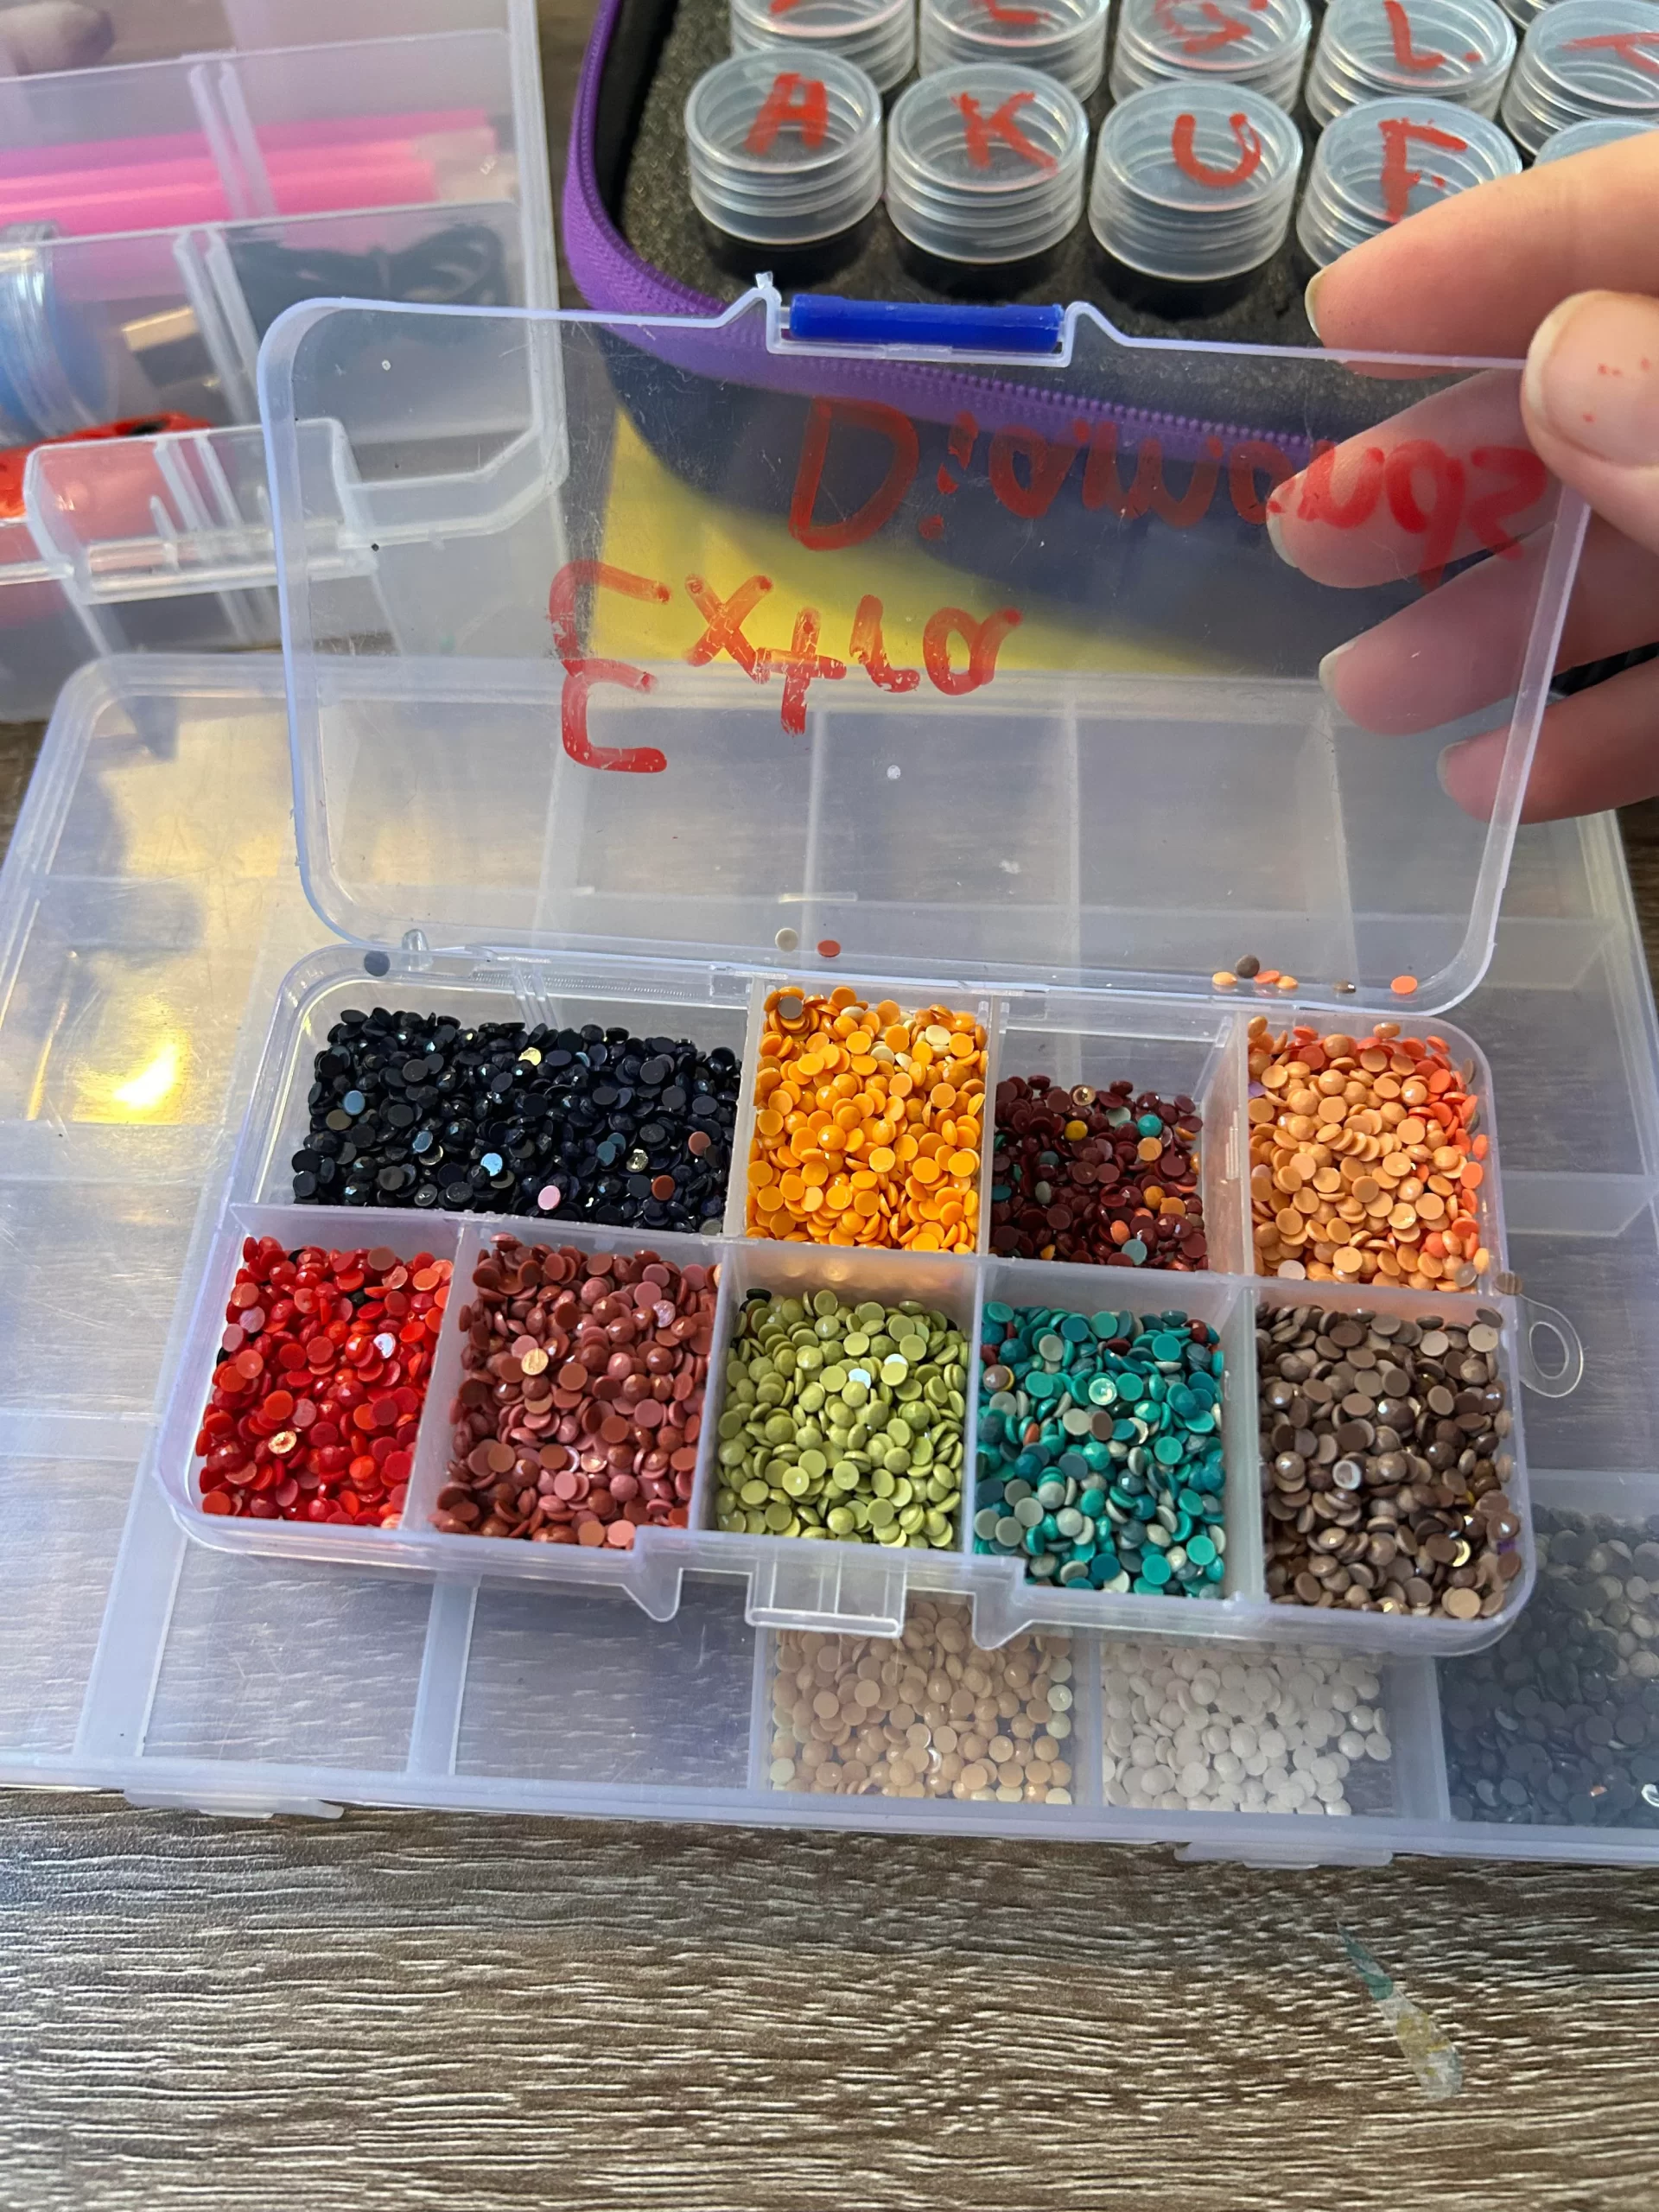
If you’re an avid diamond painter, you know that diamond painting leftover drills are a common occurrence. Don’t toss them out! Purchase a craft organizer to keep extra diamond painting beads, wax, and accessories neatly stored. You never know when you might need them for future projects.
Bringing It All Together
Diamond painting is more than just a craft, it’s a relaxing, creative escape that allows you to transform a simple canvas into a sparkling masterpiece. While dealing with wrinkled canvases and stubborn diamonds can seem like obstacles at first, the right tips and tricks will help you overcome these minor hurdles and make the experience enjoyable from start to finish.
And don’t forget, if you’re looking to take your creativity to the next level, consider making your own Custom Paint With Diamond! Whether it’s a cherished photo or a favorite image, you can upload your own picture and turn it into a Diamond Painting custom project.
Conclusion: You’re Ready to Shine!
Now that you’ve mastered the art of smoothing out your canvas and learned a few diamond painting hacks, you’re ready to create your dazzling artwork. Remember, diamond painting is not just about the final product, it’s about the journey. From prepping your canvas to placing each tiny gem, you’re creating something beautiful, one diamond at a time.
So go ahead, get your materials ready, and start your next project with confidence. Don’t forget to share your stunning work with others, it might just inspire the next generation of diamond painting artists! Whether you choose a classic design or go for a Custom Paint With Diamond, the possibilities are endless, and the result is always brilliant. Happy painting!