News & Announcements
Unpacking Diamond Painting Kits: 2024 Beginner’s Guide
Are you ready to dive into the sparkling world of Diamond Painting? This fascinating hobby, which artfully blends the precision of Cross Stitch with the color by number satisfaction of Paint By Numbers, has captivated millions globally since its introduction in 2017. Whether it’s your first venture into this craft or your seventeenth project, diamond painting kits offer a creative outlet with both beauty and therapeutic benefits, providing a perfect escape into a world of shimmering art.

Getting Started with Your Diamond Painting Kits
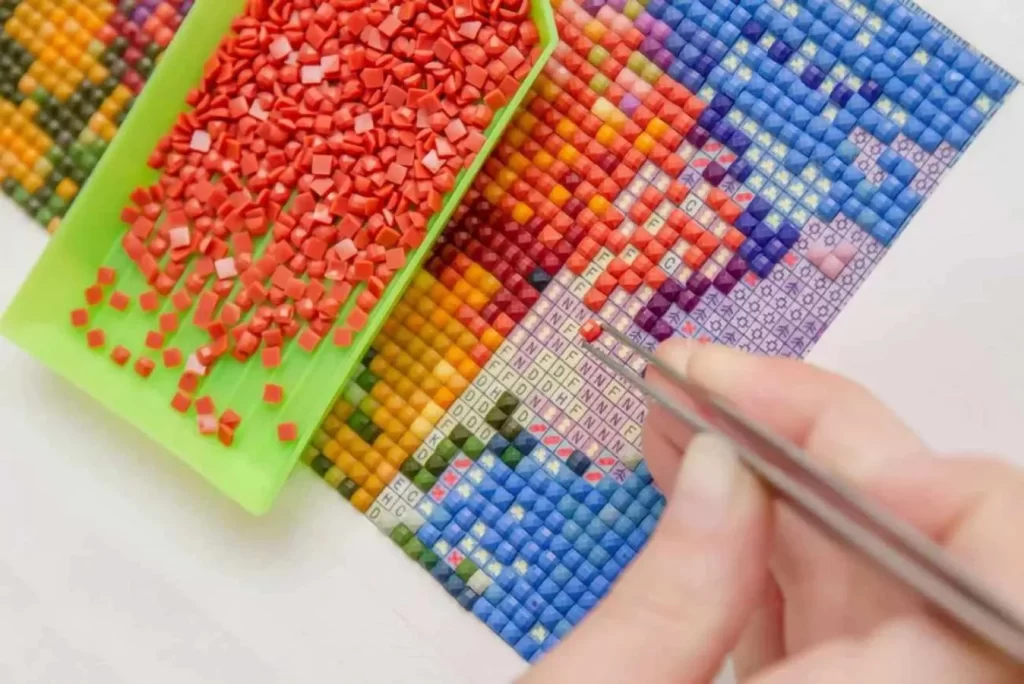
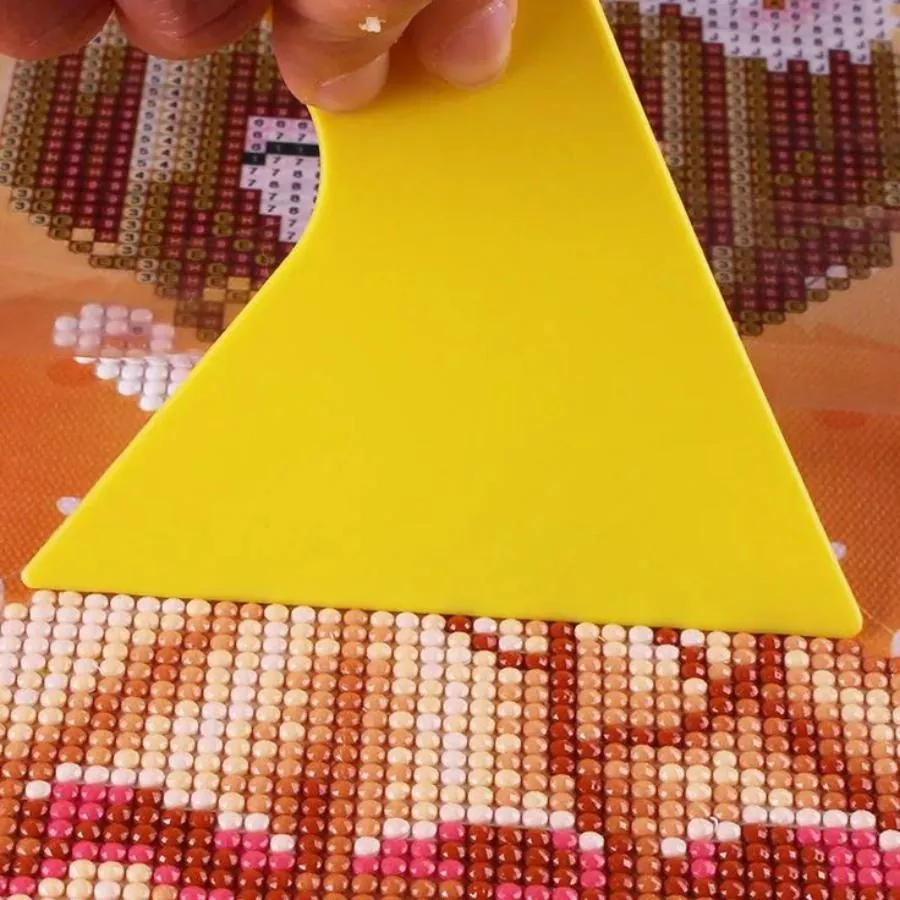
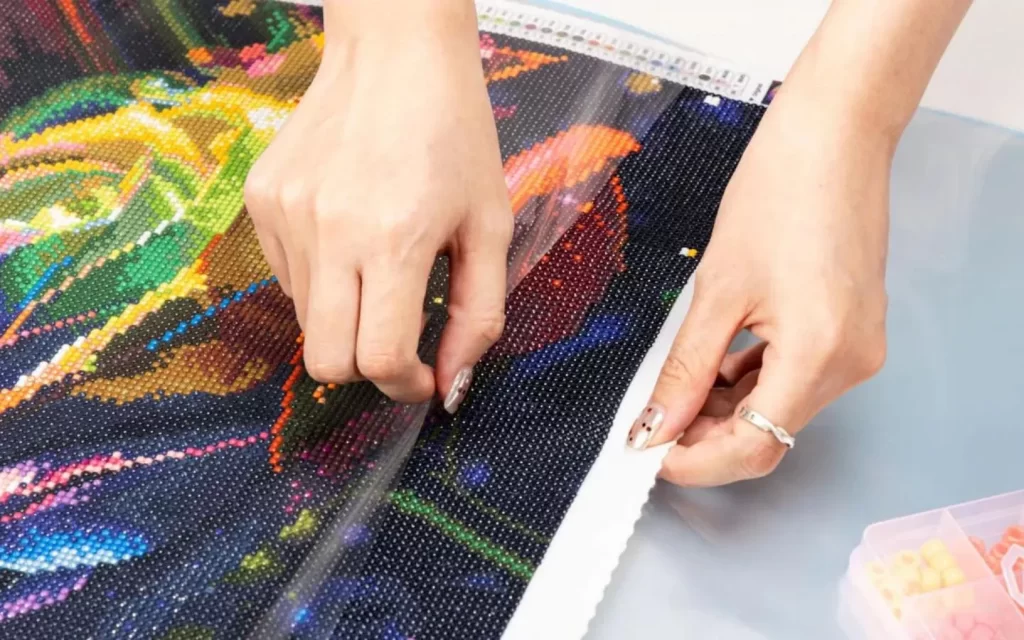
Each Diamond Painting kit arrives equipped with all the essentials: a coded adhesive canvas, vibrant resin diamonds, a handy toolkit, wax for mounting gems on diamond painting, and diamond painting tweezers. Start by rolling out your canvas on a flat surface; a kitchen table often provides ample space. First, choose the canvas section to start with. Select the matching diamonds. Gently shake them into the grooved tray to align. Prep your Diamond Pen with wax; it attracts the diamonds. Consult the canvas’s legend to match diamond colors with their symbols. Carefully peel back the protective film a bit at a time. Begin placing your diamonds one by one. Avoid removing all the film at once to preserve the adhesive.
Understanding Diamond Shapes and Advanced Techniques
In Diamond Painting, you’ll find ‘Square Drill’ and ‘Round Drill’ options. These refer to the diamonds’ shapes. The choice between them depends on personal preference. Some believe square drills offer a fuller, more seamless look. Others find round drills easier to handle and place. As your skills advance, consider trying the Checkerboard Method Diamond Painting. This technique is useful for large, uniform color areas. Alternatively, use a multi placer diamond painting. It allows placing multiple diamonds at once, boosting your efficiency.
Diamond Painting Kits Contents and Setup Tips
When selecting your kit, from the captivating Hideo Kojima Diamond Painting to the picturesque Amsterdam In Autumn Diamond Painting, pay attention to its origin and packaging, especially if it’s shipping from overseas, to ensure it arrives in perfect condition. Kits from reputable sources are carefully packaged with canvas rolled around foam inserts to prevent creases and wrapped in plastic to protect against water damage.

Overcoming Common Diamond Painting Challenges
If your canvas has creases or wrinkles, you can place it under a mattress or weigh it down with heavy books to flatten it out. For stubborn creases, a gentle pass with a crafting knife can help smooth the surface. Organizing your diamonds efficiently can significantly streamline your process. Consider creative DIY storage solutions to keep your crafting area neat and your diamonds easily accessible.

Displaying Your Finished Masterpiece
Once your Diamond Painting is complete, it’s time to show it off! You can opt for professional framing, use DIY stretcher bars for a homemade frame, or simply mount it on a foam board for a quick display. Each method offers its own blend of aesthetics and protection, enhancing the overall presentation of your finished artwork.
Diamond Painting not only decorates your space but also enriches your life with its meditative, meticulous process that yields stunning results. As you place each diamond, you’re not just crafting art; you’re piecing together a mosaic of tranquility and accomplishment. Share your finished works with a community of fellow enthusiasts and inspire others to start their journey in the vibrant world of Diamond Painting. Whether through framed Diamond painting masterpieces or innovative home displays, the joy of seeing your completed work is incomparable. A true testament to the beauty and fulfillment of Diamond Painting.