Tutorials
Handcrafted Elegance: Marbled Diamond Painting Pen DIY
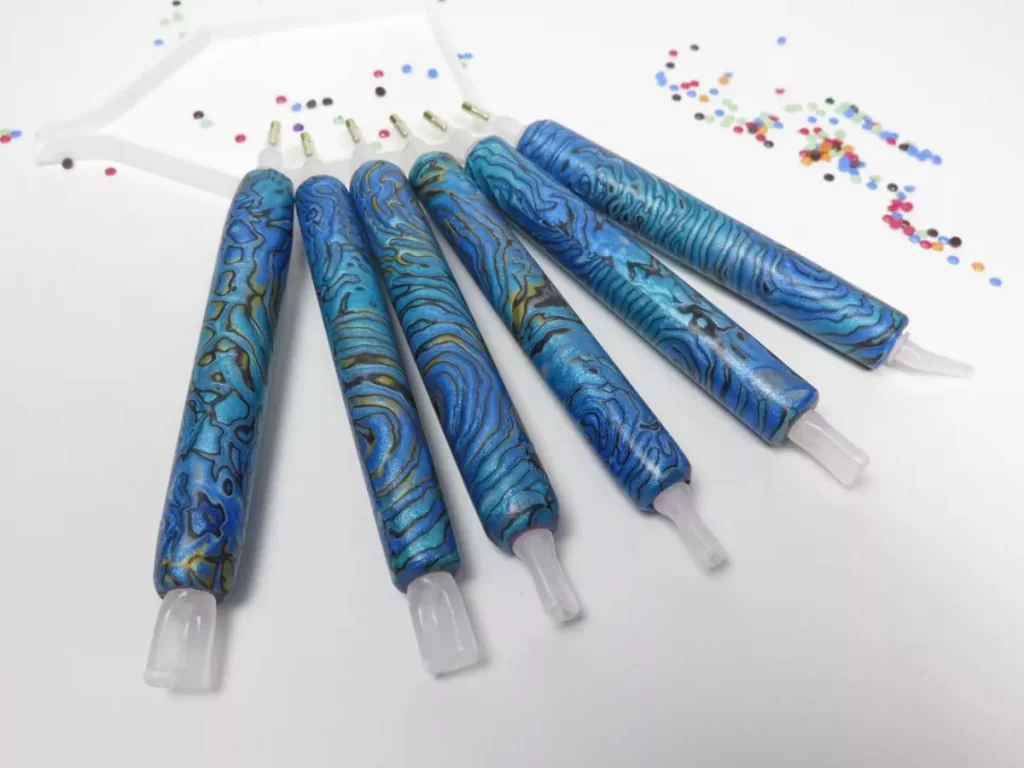
The need for personalized equipment is rising with the popularity of indoor pastimes like diamond painting. Instead of mindlessly browsing social media or baking too much, try this DIY activity for an energy shift. Crafting your own tools complements the unique experiences offered by kits such as the Custom Diamond Painting Kit. This kit allows you to bring personal photos to life or enjoy the seasonal charm of the Halloween Ghosts Art kit. These projects ignite your enthusiasm for diamond painting and allow you to customize your craft supplies and the artworks you create. In this detailed guide, we will walk you through each step of transforming an ordinary diamond painting pen into a stunning piece of functional art using marbled clay, enhancing the creative process.

Detailed Step-by-Step Process to Customize Your Pen
Materials and Setup: First things first
Gather all necessary materials; colorful polymer clay blocks, an unfilled 5D Diamond Art Painting pen, a rolling pin or pasta machine, a sharp knife, and baking materials. Wax paper or a silicone mat might help keep your workspace clean and make the procedure go more smoothly.
Creating Your Marbled Clay Design:
- Condition Your Clay: Before shaping polymer clay, make sure it’s warm and flexible. Rolling, squashing, and stretching clay between your palms makes it easier to work with.
- Combine the Colors: Create a marbled look by rolling each hue into thin logs and twisting them together. As you continue to twist and fold, your marbled design will get increasingly complex.
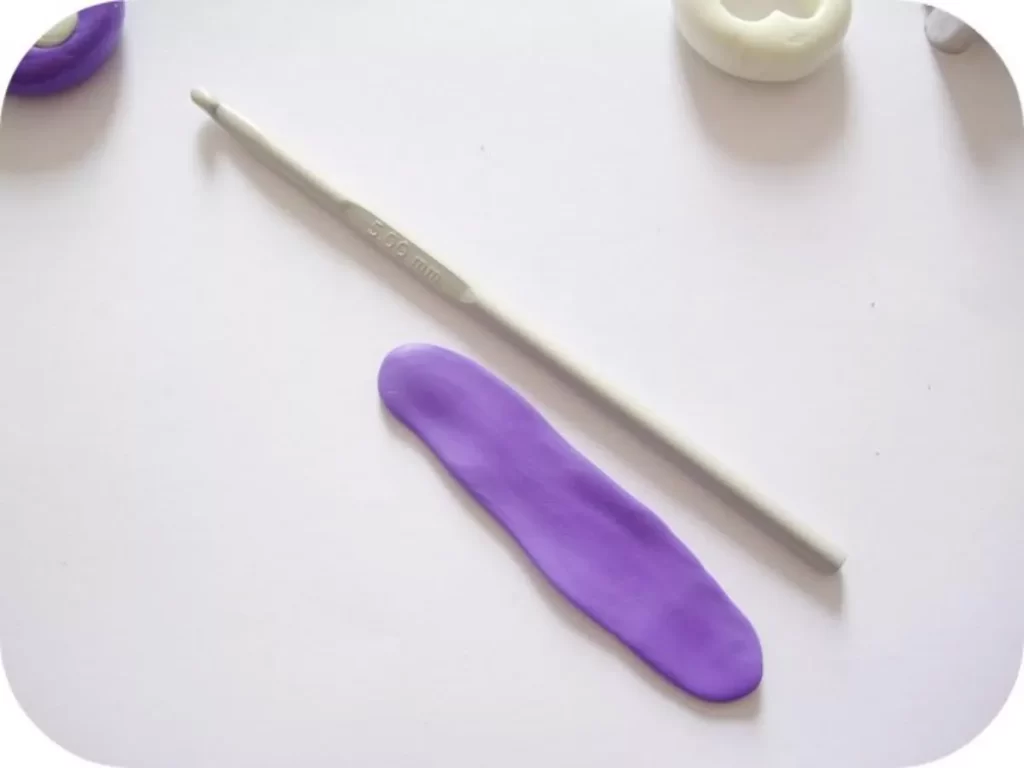
- Flatten the Clay: After you’re pleased with the marbled pattern, flatten the clay into a sheet that’s approximately 1/8 inch thick using a rolling pin or a clay-pasta machine.
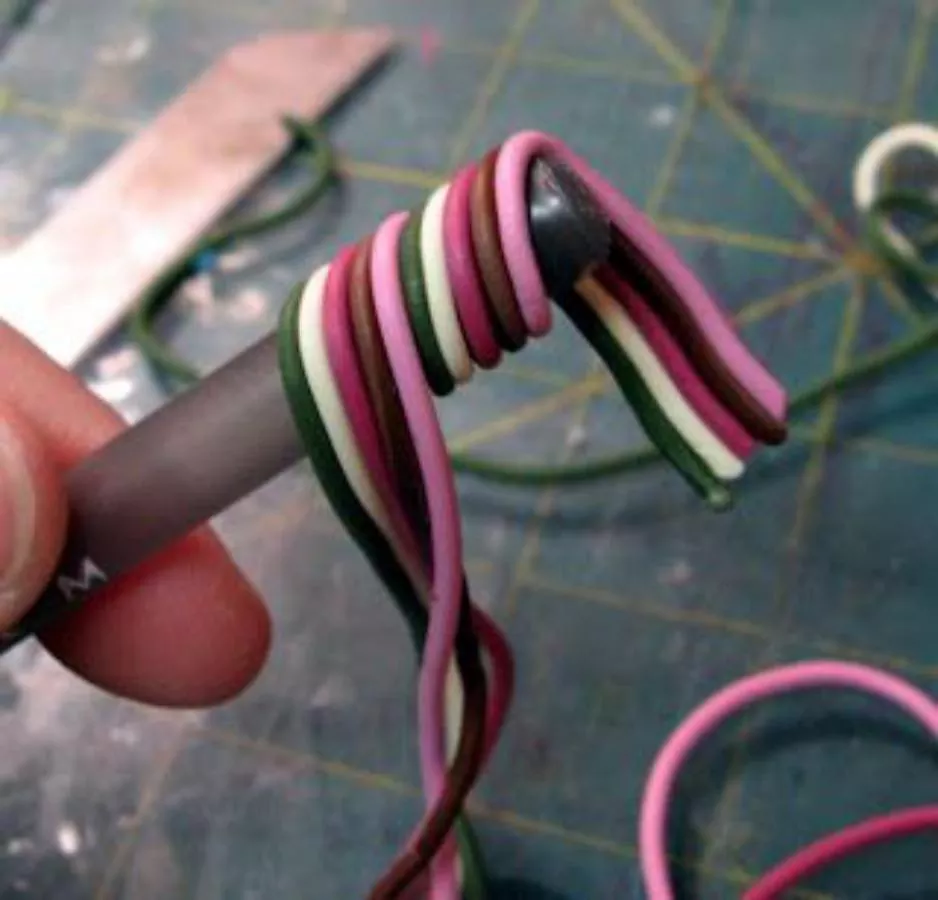
- Wrap the Pen: Measure your clay against the pen, ensuring it wraps around completely without excess. Trim the clay sheet to the length of the pen. Carefully wrap the clay around the pen, smoothing out any air bubbles or wrinkles. Trim any excess at the edges and along the length, ensuring a neat finish.

Finalizing and Baking Your Custom Pen:
- Prepare for Baking: Preheat your oven according to the clay manufacturer’s instructions, usually around 275°F. Place your clay-wrapped pen on a parchment-lined baking tray. Ensure the pen does not touch the tray sides to avoid distortion.
- Bake the Pen: Bake the pen in the preheated oven for about 30 minutes. Baking times may vary based on the thickness of the clay, so adjust accordingly.
- Cooling and Sanding: Allow the pen to cool completely after baking. If the surface isn’t as smooth as you’d like, gently sand it with fine-grit sandpaper until you achieve the desired smoothness.
- Sealing the Clay: Applying a small layer of polymer clay sealer or varnish can both preserve your design while also providing it a glossy appearance. Get a professional, long-lasting finish by applying thin layers and waiting for each one to dry.

Completion and Usage:
Once your pen has dried and sealed, you can use it immediately. The customized marbled design enhances the tool’s aesthetic value and personalization. This customized Diamond painting pen will enhance your art supplies and endlessly remind you of your love for creating.

This DIY marbled clay pen project goes beyond killing time; it’s a chance to deeply engage with your craft. By personalizing your tools, you add an extra layer of connection to every Diamond Painting project you undertake. Each time you use your custom Diamond painting pen, you’ll not only remember the fun and fulfillment of creating it but also feel inspired to dive into new artworks. So, gather your materials, set aside some time, and prepare to transform a simple pen into a masterpiece as unique as the art you create with it.