Tips & Tricks
Craft Like a Pro: 9 Pro Tips to Elevate Your Diamond Painting Experience
Level up your creativity game with diamond painting. This isn’t just a hobby; it’s a full-on adventure. So grab your diamond art painting tools, choose your favorite design, and let’s dive into a world of color and sparkle. Whether you’re a seasoned artist on your seventeenth canvas or a curious newbie ready to place your first diamond, there’s always a little trick to make your journey smoother and more enjoyable. From battling static cling to framing your finished masterpiece, we’ve gathered some ingenious hacks to elevate your crafting experience. Let’s explore these creative solutions that ensure your diamond painting adventure is as brilliant as the art you create.
Say Goodbye to Static: The Magic of Static Guard Fabric Spray
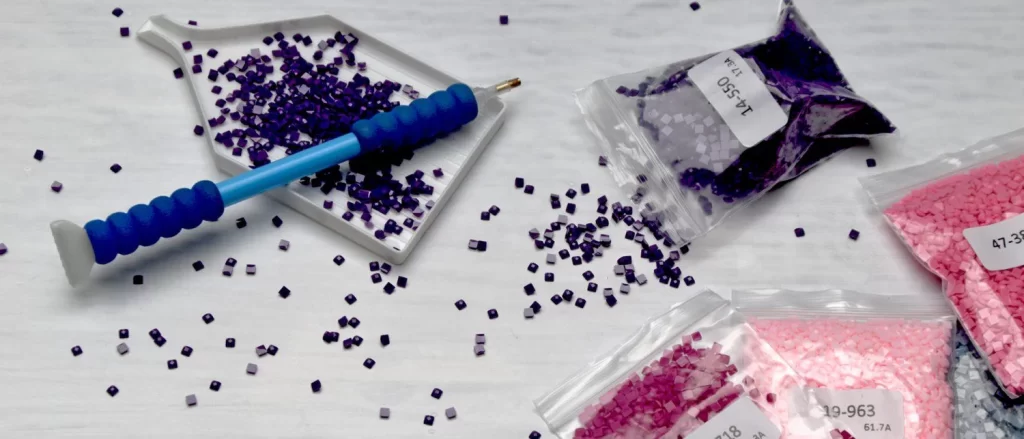
Static clinging is a common annoyance when dealing with tiny diamonds. A quick spritz of Static Guard Fabric Spray can eliminate the cling, making it easier to pick up and place each piece without frustrating fly-aways.
Clump Crisis? Two Trays to the Rescue
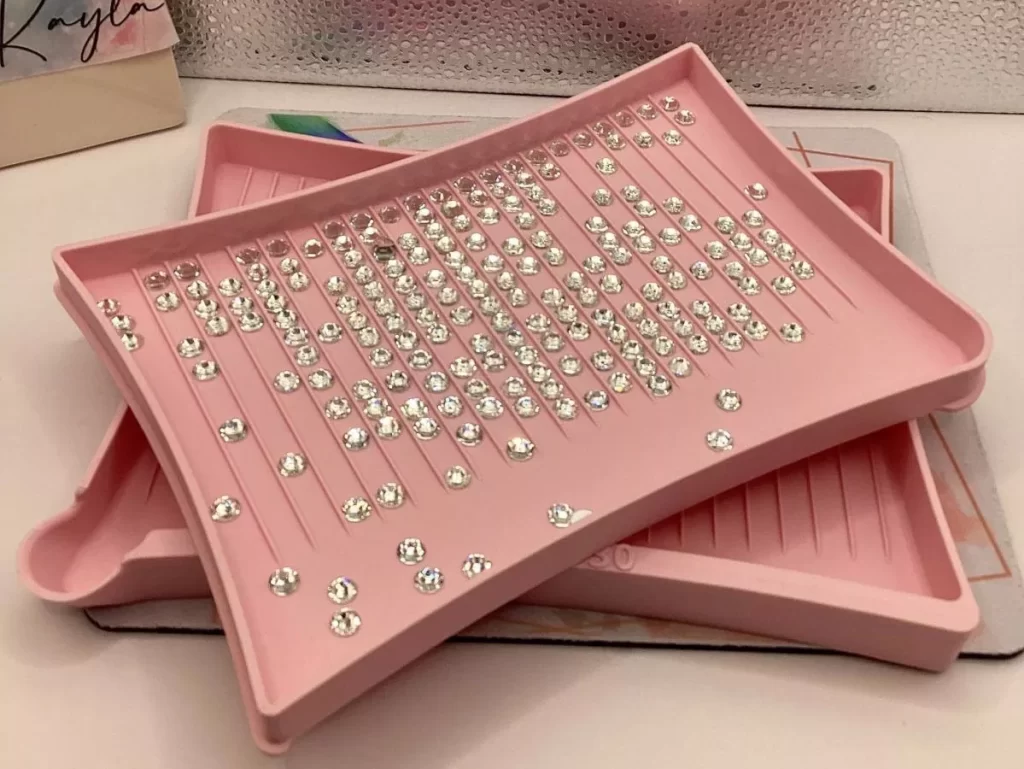
Don’t let clumped diamonds slow you down. Instead of picking them apart manually, grab two empty trays. Stack them, press firmly, and relish the ‘pop’ as they separate. If you encounter a particularly stubborn bunch, a little tray-rubbing action should do the trick.
Flawless Frames: Nail Polish Remover Hack
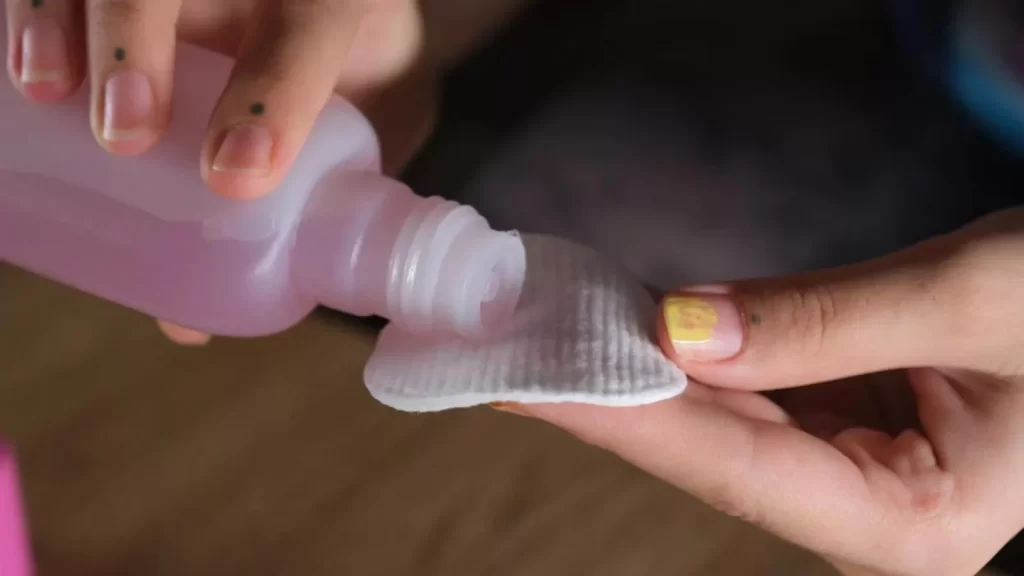
Ever notice the DMC grid peeking out from the edges of your framed masterpiece? It’s a small detail but one that can nag at you. Catherine Woodward recommends dabbing a bit of nail polish remover on a cotton pad to wipe away any unwanted markings, ensuring your artwork is nothing but picture-perfect.
Improvised Illumination: iPad Light Hack
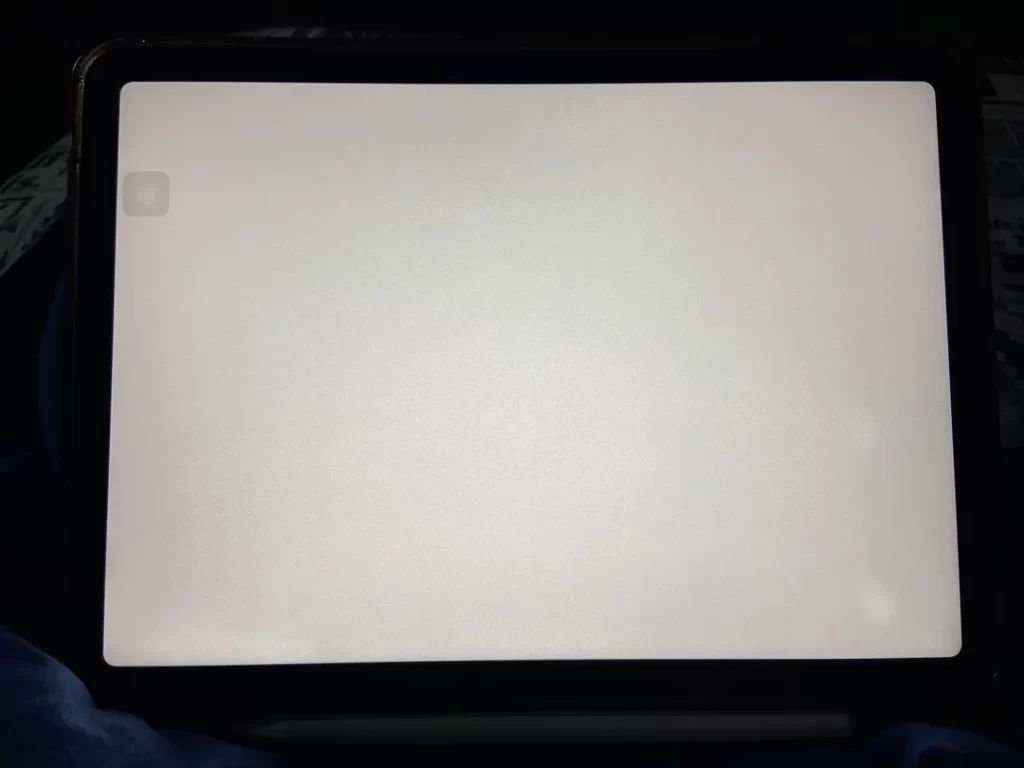
While waiting for a proper Diamond painting light board, repurpose an old iPad to brighten your workspace. Open a flashlight app or a blank browser page to shine some light on your symbols, making them easier to see.
On-the-Go? Roll with It
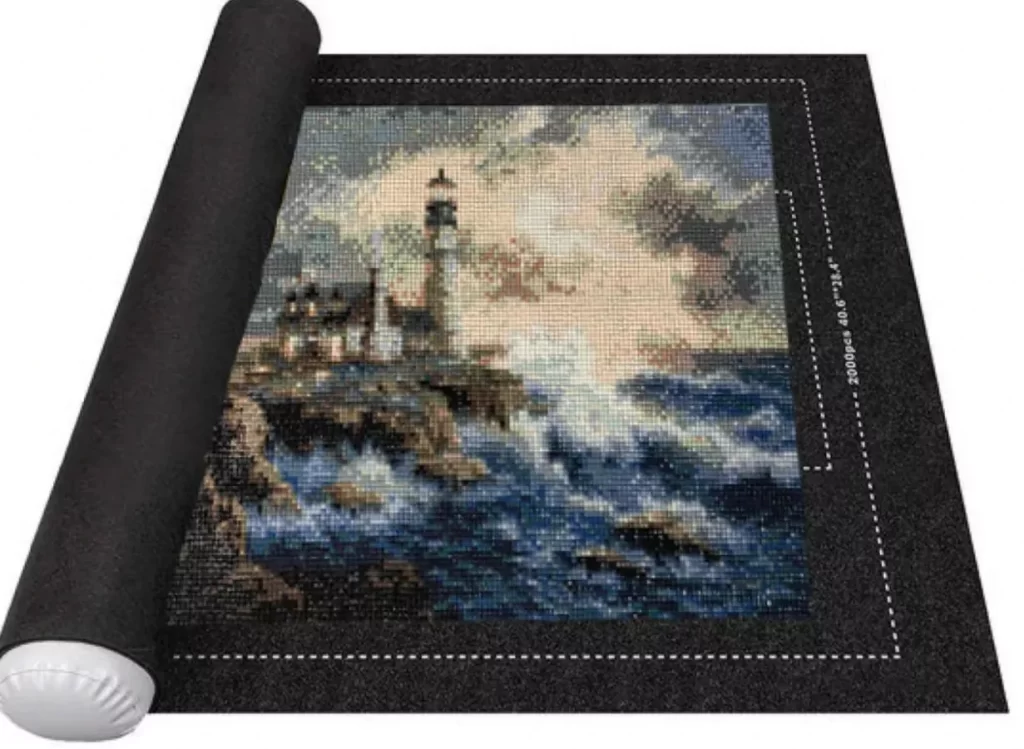
Don’t cut your vacation short because you miss your diamond painting. A puzzle roll-up mat serves as a perfect carrier for your work-in-progress. Alternatively, sandwich your canvas; whether its a custom diamond painting kit, a Ha Long Bay, or Richard The Lionheart kit; between two foam boards and secure them with tape for a DIY solution.
Seal the Deal: Preserve Your Art with Mod Podge
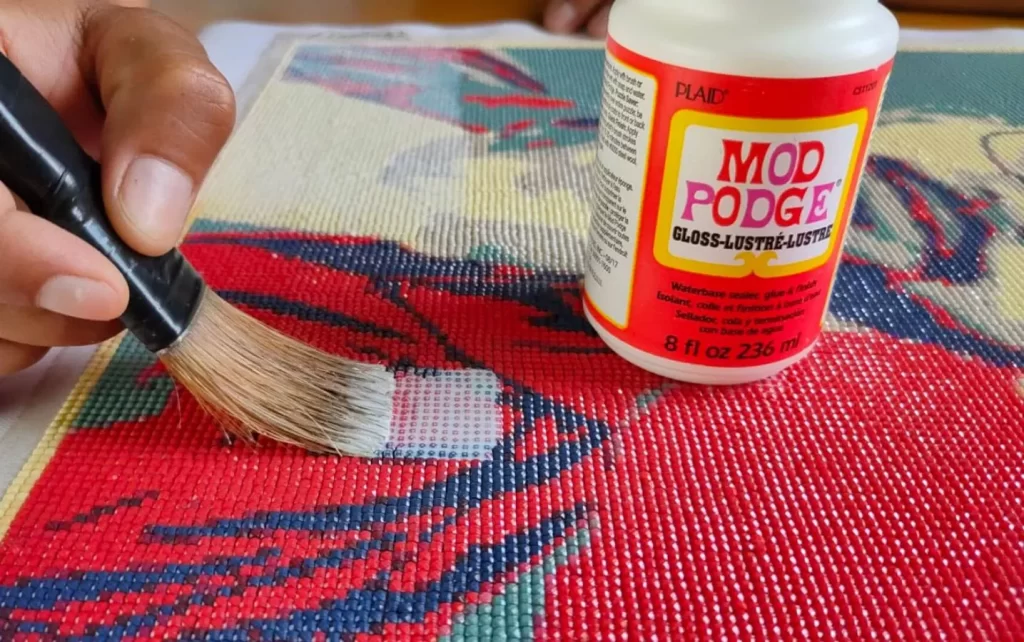
After placing the last diamond, it’s time to secure your artwork’s longevity. A layer of Mod Podge sealer diamond painting will seal the diamonds in place and keep your canvas looking fresh and vibrant for years. Check out our comprehensive guide on sealing diamond paintings for more detailed instructions.
Container Refill Revolution: Dry-Erase Double-Sided Tape
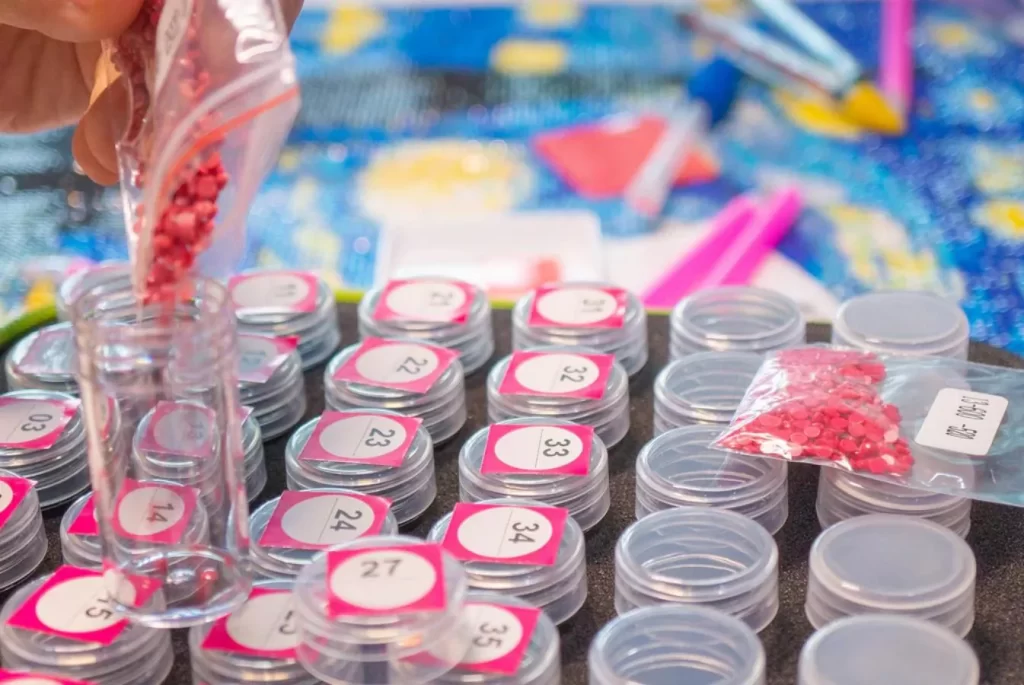
Tired of the tedious task of refilling containers? Simplify the process with Dry-Erase Tape. Write the symbol, DMC code, and color on the lids of your containers using different colored markers for quick and easy identification.
Checkerboard Method: Keep it Straight and Fun
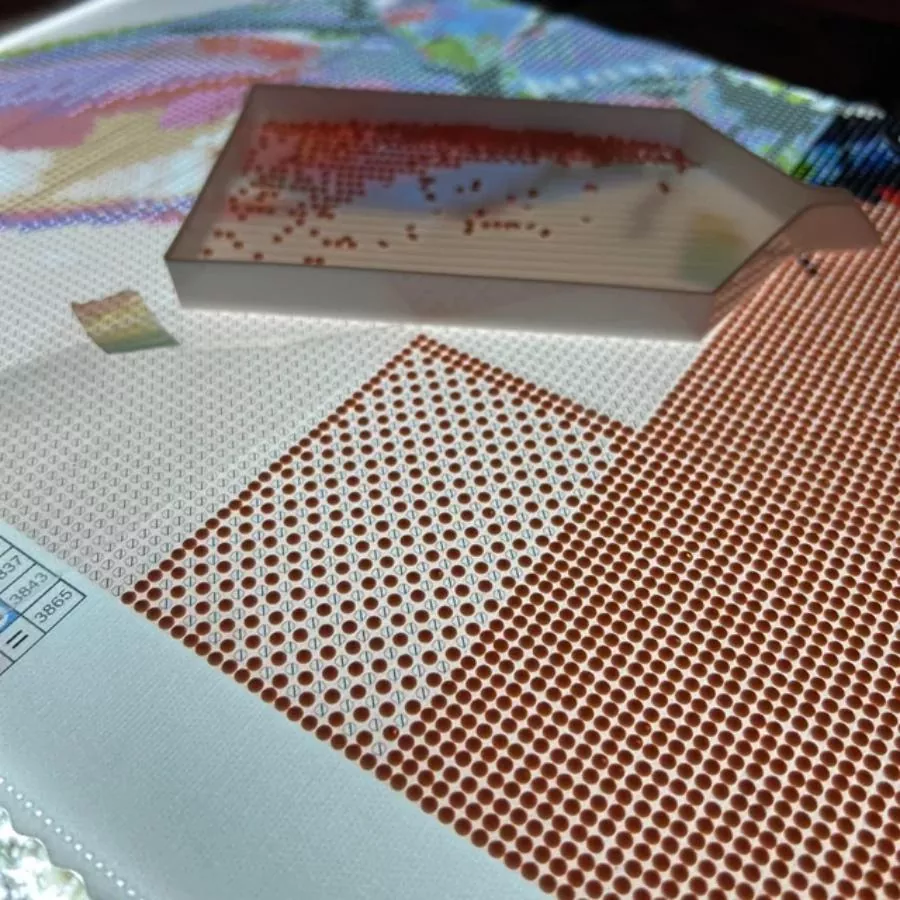
Tackle large monochromatic areas with the Checkerboard Method. Place diamonds alternately, creating a checkerboard pattern, then fill in the gaps. This method not only keeps your lines neat but also adds a rhythmic pace to your placing.
Rescue Missions: Baby Wipes for Canvas Care
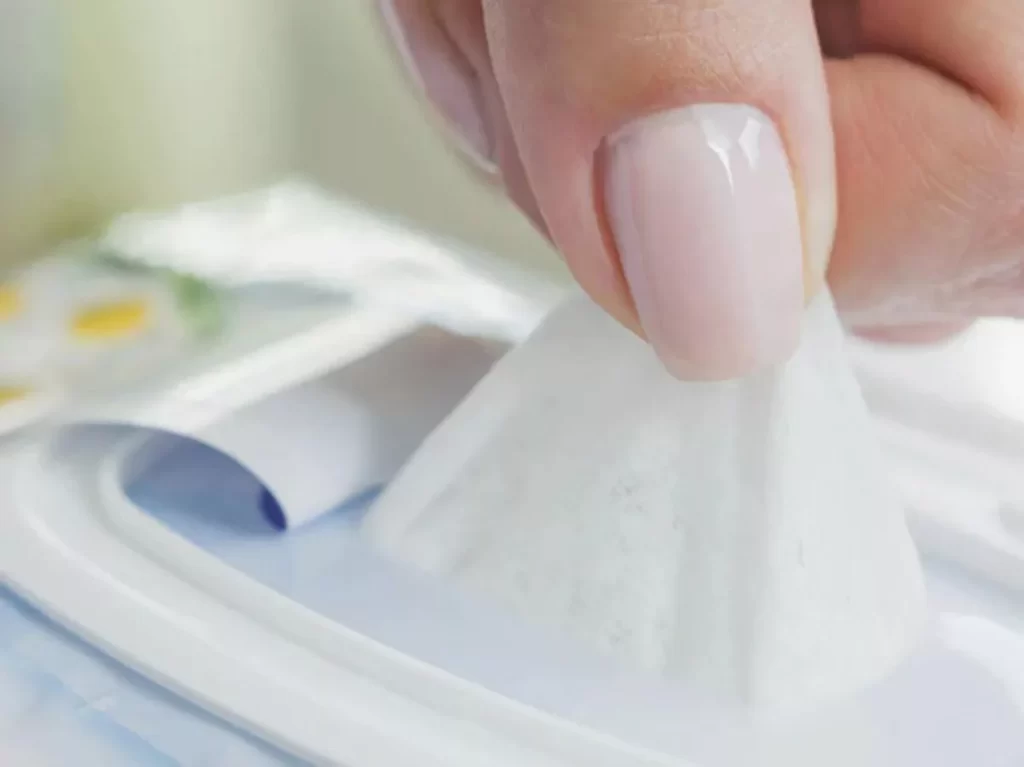
Accidents happen to a rogue piece of paper, a spill. Don’t fret! Gently clean the affected area with a baby wipe to remove any debris or stickiness. Allow the canvas to dry completely before you continue adding more diamonds.
And there you have it, nine creative hacks to transform your Diamond Painting experience from good to spectacular. Whether you’re employing an iPad for extra light or rolling up your canvas to take on holiday, each tip is designed to enhance your crafting ease and enjoyment. Remember, every diamond counts and so does every moment you spend creating your masterpiece.