Tips & Tricks
From Craft to Keepsake: Sealing Your Diamond Painting
Congratulations! After months of work, your Diamond Painting masterpiece is finished. It’s a sparkling monument to your efforts and ingenuity, but how can you keep it as brilliant as the day it was completed? The solution comes in one critical step: sealing your Diamond Painting artwork. Sealing not only keeps the small stones in place, but it also protects your artwork from dust and moisture. If you want your diamond artwork to last a lifetime, whether you’re going to frame it or just hang it unframed, sealing it is a must.
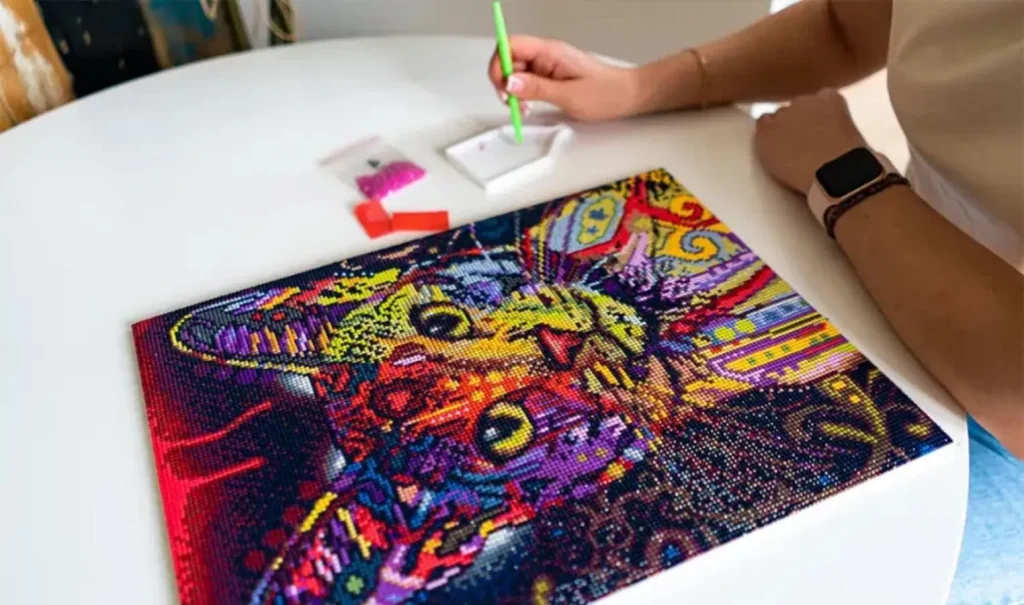
Choosing the Right Sealer and Preparing Your Artwork
Make sure the sealer you chose is perfect for your requirements and tastes before you start. There are two kinds of sealers: brush-on and aerosol spray. Brush-on sealers, like as DecoArt’s Triple Thick Glaze, provide a thick, protective covering that retains the glitter of your diamonds while delivering a durable finish. They’re great for putting a painting on foam board or framing without glass. Choose your 5D diamond paint sealer carefully; some brush types may diminish diamond sparkle. For gentle application, use aerosol sprays such as Mod Podge. It provide a clear coat without affecting the canvas’s texture or stretch.
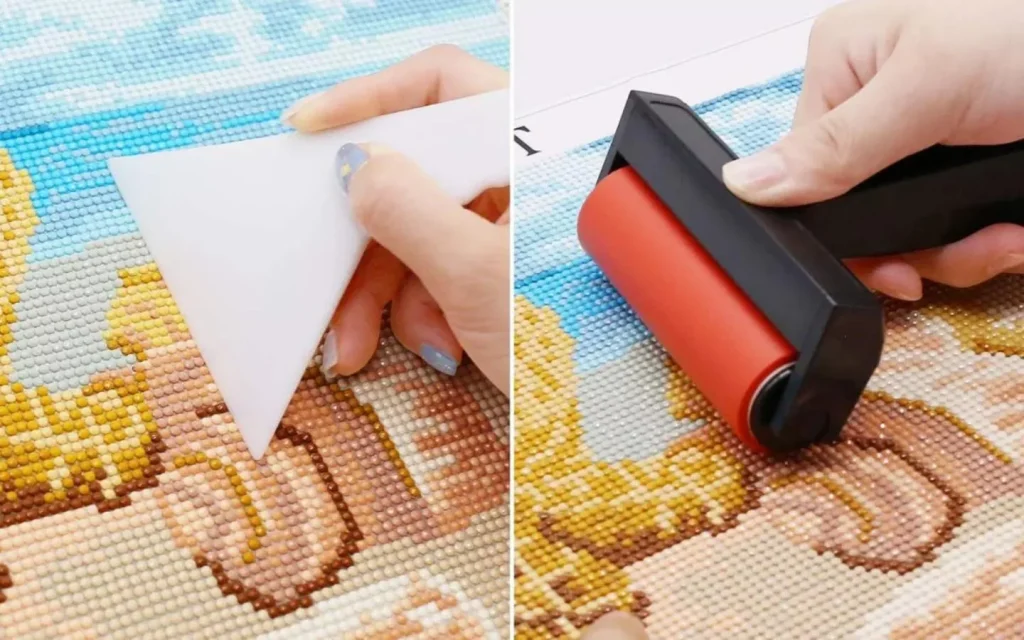
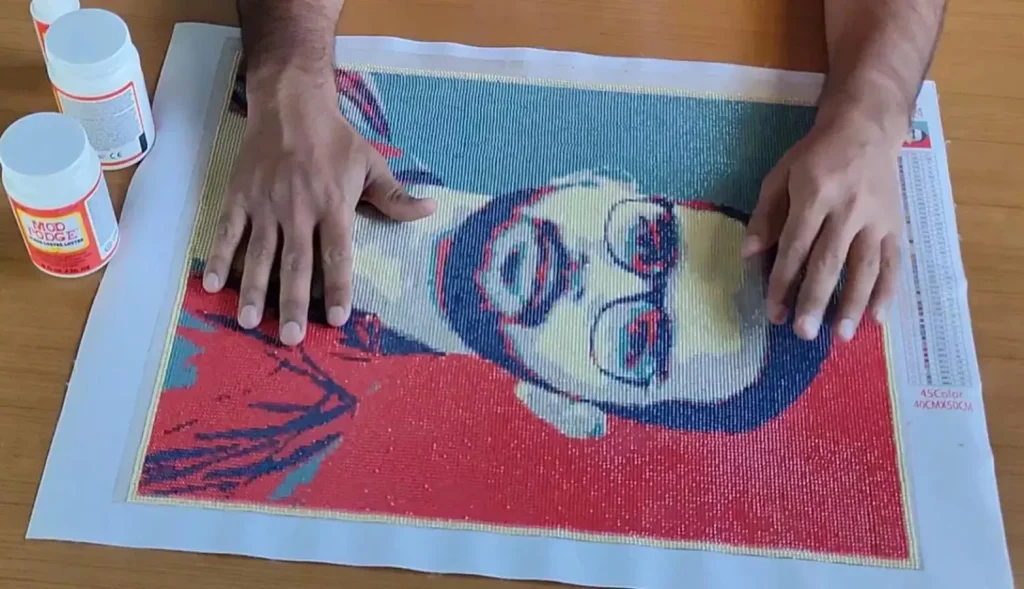
Begin by making sure all diamonds are firmly pressed down on your painting. You can use a Plastic Roller For 5D Diamond Paintings or a similar tool to gently press them into the glue, ensuring they are flat and securely attached. To protect the diamonds from scratches during this process, consider laying an old t-shirt over the canvas.
Step-by-Step Guide to Applying Sealer
- Initial Setup: Start by ensuring your workspace is clean and free of drafts that could blow dust onto your wet Diamond painting sealer. If using a brush-on type, open your jar and get your brush ready. For aerosol users, shake the can well before use.
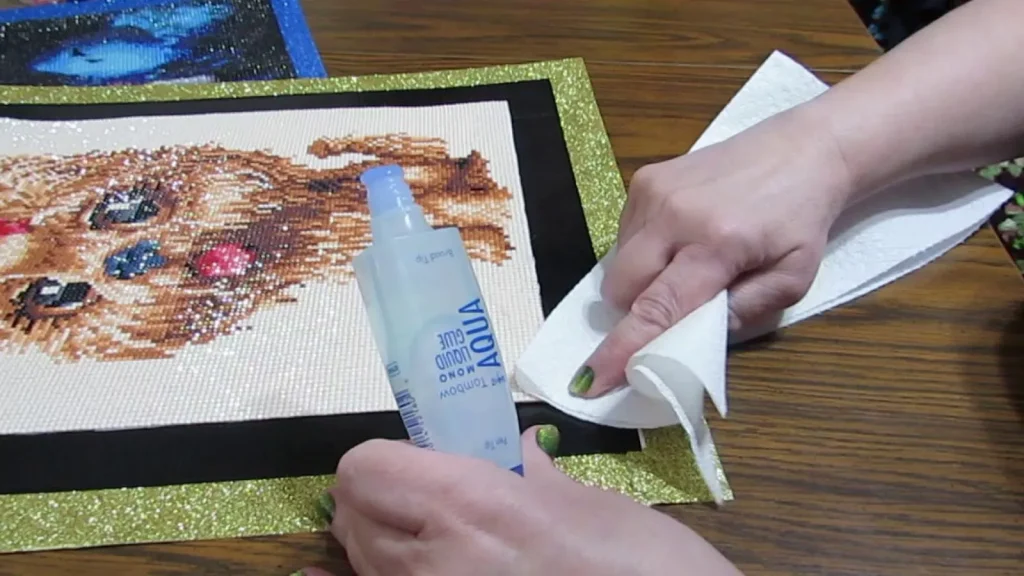
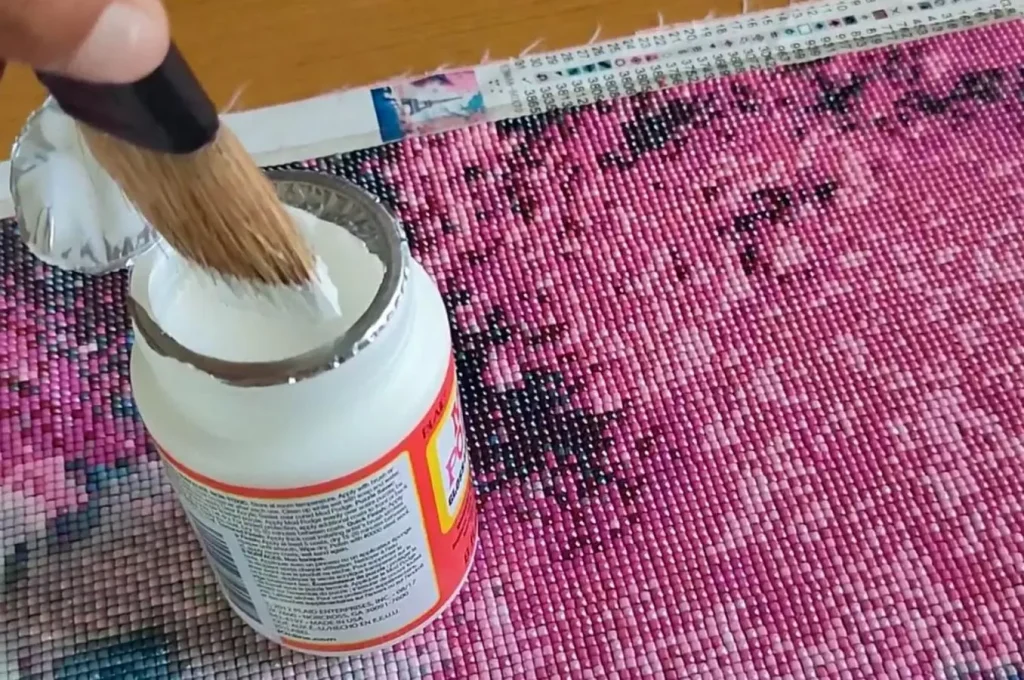
- Application Process: If using a brush-on sealer Diamond Painting, dip your brush into the product and begin to apply it to the canvas in even, controlled strokes. Aim for a uniform coat, avoiding excessive buildup in any area. The sealer might appear white initially but will dry clear, ensuring your diamonds’ sparkle isn’t dulled. For aerosol sealers, hold the can several inches away from the canvas and spray in a sweeping motion to cover the surface evenly without saturating any area too heavily.
- Drying and Curing: Allow the sealer to dry completely. Brush-on types may take longer to set clear, usually up to 24 hours. Aerosol types might dry quicker, but it’s essential to check the specific product instructions for the best results. During the drying phase, it’s crucial not to touch or move your artwork, as this could shift the diamonds or cause smudges. Sealing your Diamond Painting afterwards will help safeguard your effort, ensuring the diamonds stay perfectly in place.
Additional Tips and Considerations
1. If your artwork includes areas without diamonds, such as in partial drill kits, be careful not to overload these sections with sealer. A smaller brush can help maintain precision and avoid a messy finish.
2. For those using their artwork in high-traffic areas or places prone to moisture, consider a second coat of sealer for added protection.
3. Always work in a well-ventilated area, especially if using aerosol products, to avoid inhaling any fumes.
A simple but essential last step in your artistic adventure is sealing Diamond Painting. Your artwork will last longer and stay more beautiful, ensuring it remains a centerpiece. Each diamond’s placement will prove worthwhile. Properly display and protect your Diamond Painting to maintain its allure. With the right care, it will captivate and impress everyone who sees it.