News & Announcements
Glittering Galleries: Framing Your Diamond Painting at Home
After endless hours of precisely arranging each diamond on your painting, you’ve converted a blank canvas into a breathtaking work of art that captivates the eye and imagination. The exquisite hues and sparkling light reflect off each jewel, producing a magnificent display. Now it’s time to give your artwork the final touch it deserves: a stunning frame. Here’s a step-by-step instruction for DIY framing your final diamond painting, ensuring it’s exhibited attractively and kept for years to come.
Diamonds in the Frame: Showcasing Your Artistic Journey
After crafting your masterpiece, whether capturing the expansive calm of a Seascape, the iconic essence of beloved figures, or the personalized charm of a Custom Diamond Painting kit, the journey doesn’t end there. Framing your diamond painting adds a layer of sophistication and allure, transforming your meticulous work into a gallery-worthy piece. A well-chosen frame not only highlights the brilliance of the diamonds but also complements the narrative captured within each facet. It’s about creating a lasting impression that enhances every shimmering detail, making the viewing experience even more captivating.
Preparation: Securing Your Artwork
The first step in preserving and preparing your diamond painting for framing is sealing. Sealing the canvas cements the diamonds in place, protecting your work against dust, damage, and diamonds falling off. You’ll want to use a quality diamond painting sealer, applying a thin coat across the entire piece, ensuring every diamond is covered. Allow it to dry completely according to the sealer’s instructions; this will create a solid, protective layer over your artwork.
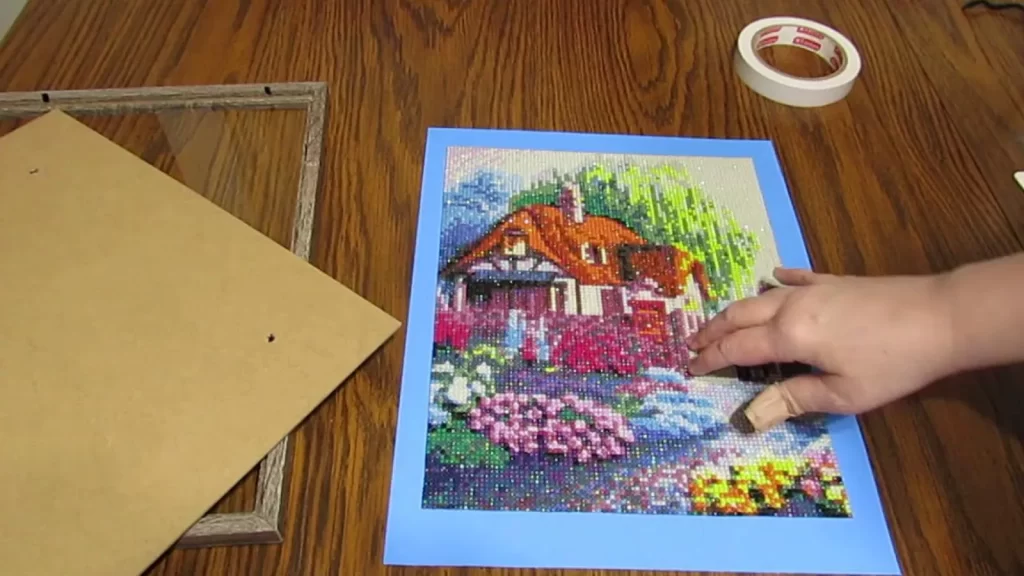
Framing Materials and Setup
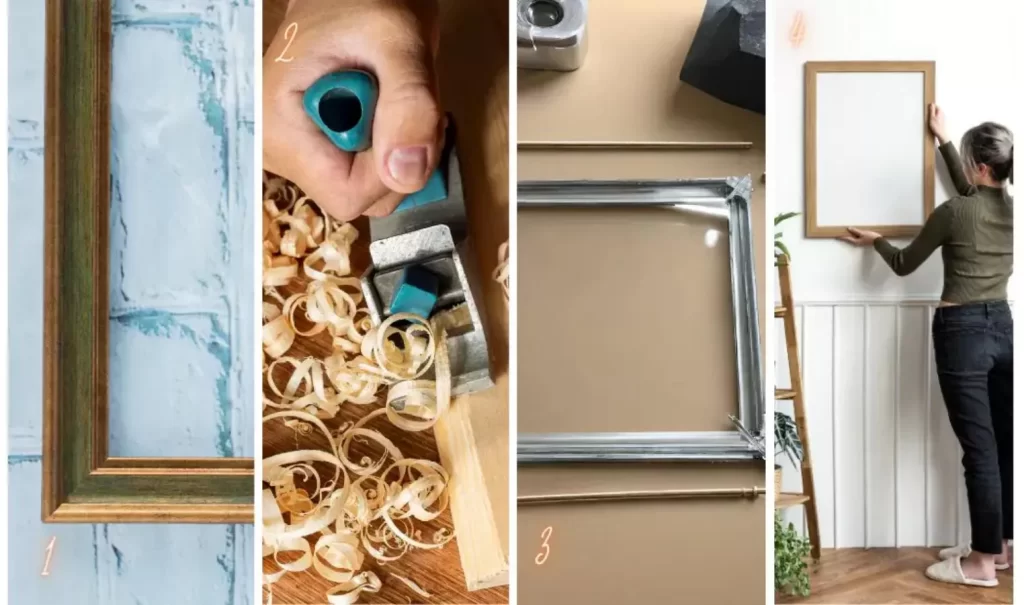
Once your canvas is sealed and dry, it’s time to gather your framing materials. For a DIY approach that gives a professional-looking finish, consider using natural wood stretcher bars. These bars will act as the internal diamond painting frame, stretching your canvas over them to provide a taut, gallery-style look. Lay out your materials:
- Stretcher bars
- Hammer
- U-nails
- Corner wedges
- Double-sided adhesive tape
- Tape (for temporary placement)
Start by laying your canvas face down on a clean, flat surface. Arrange the stretcher bars along the edges of the canvas, and ensure they are flush with the edges for a snug fit. The narrow side of each stretcher bar should face inward toward the painting. This orientation is crucial as it forms the supportive edge that will hold your canvas tight.
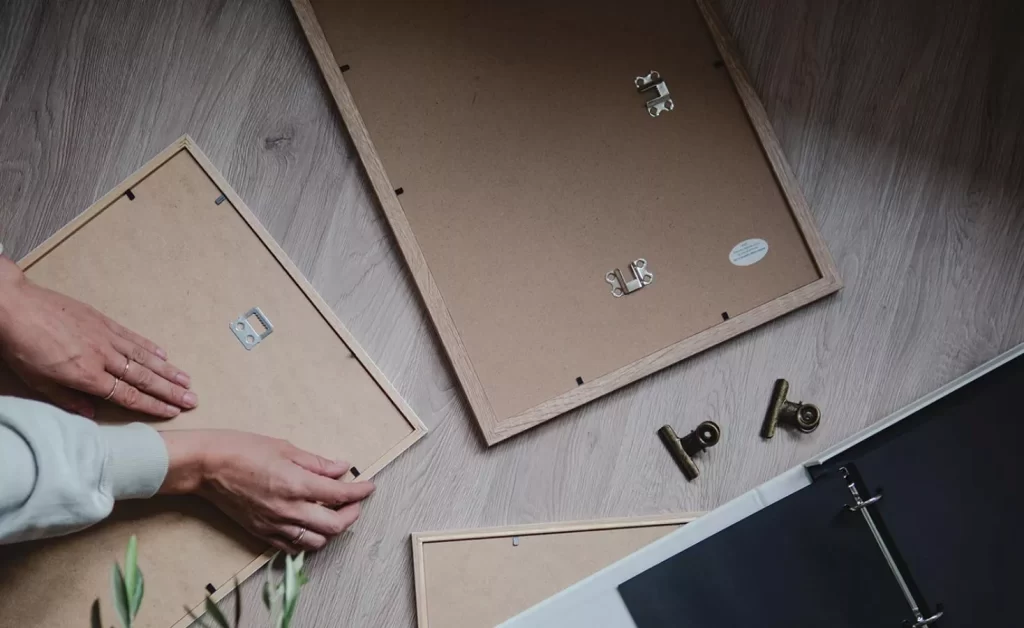
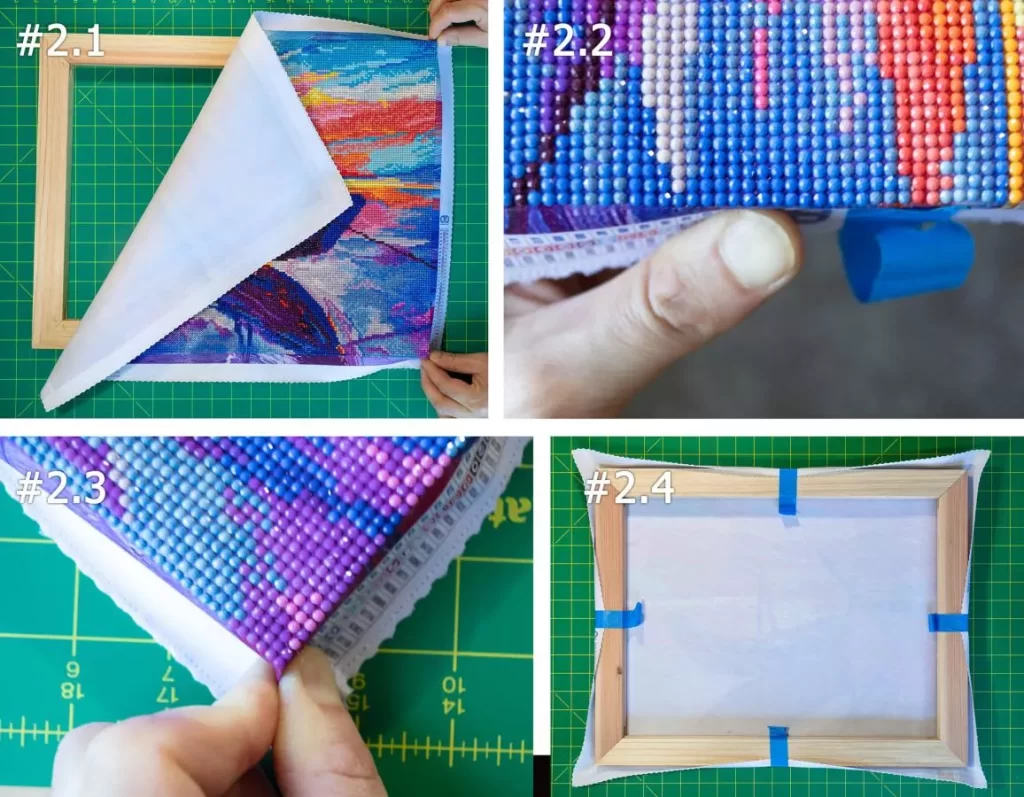
Assembling the Frame
Secure the stretcher bars temporarily with tape. Remove the double-sided adhesive backing from each bar and carefully fold the canvas edges around the bars, pressing firmly to adhere. Begin at one side and work your way around the canvas, pulling it tight as you go. The goal is to keep the canvas even and free of wrinkles.
Next, reinforce the frame by inserting U-nails into the pre-drilled holes on each stretcher bar. Position the nails by hand first, ensuring each one fits snugly, then use a hammer to fully secure them. This step is vital as it permanently locks the bars in place, providing stability to the diamond painting frames.
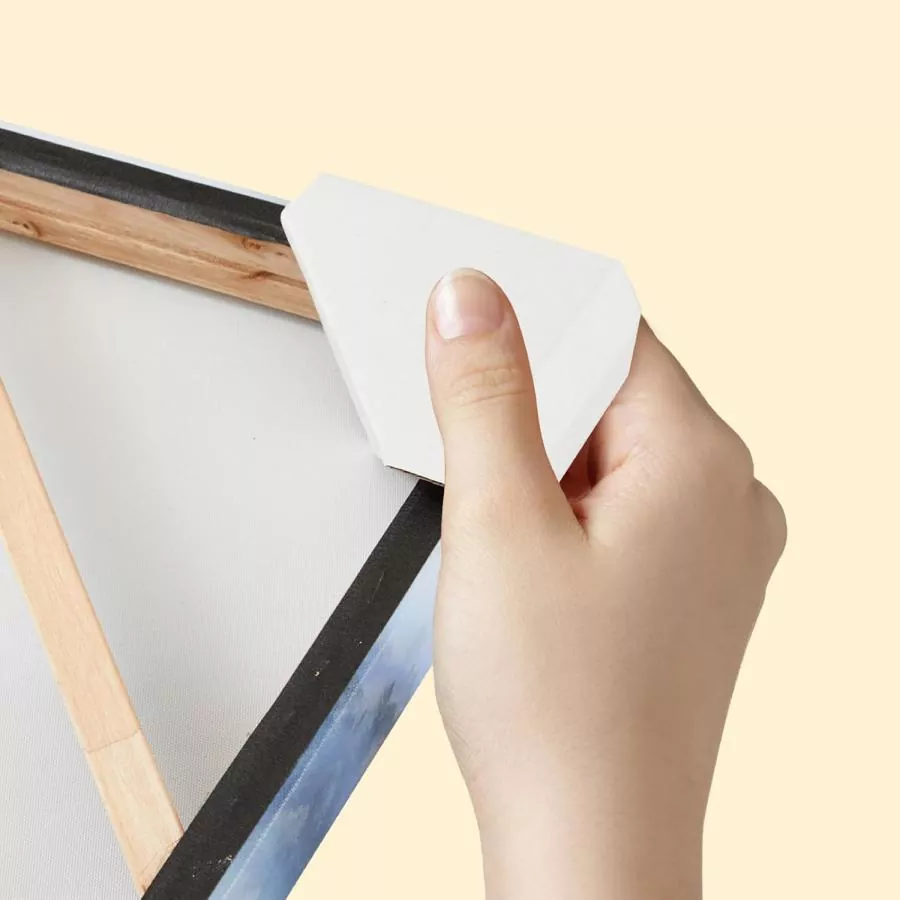
Securing the Corners
The next stage includes the corner wedges, which are essential for keeping the frame solid and the canvas tight. The frame has grooves on each corner where you can place the wedges. Tap them lightly but hard with a hammer to ensure they are securely fastened. These wedges allow for changes if the canvas loosens over time, which is particularly useful for ensuring the framing’s long-term integrity.
Finishing Touches
Congratulations! You have now beautifully framed your Diamond Painting and it is ready for display. Hang it in a spot that receives indirect sunlight, as direct exposure can fade the colors over time. The right display will not only enhance the room but also protect the painting’s vibrancy and detail.
Framing your diamond painting is a rewarding experience that adds a professional touch to your artwork. If you’ve discovered any additional tips or tricks throughout your framing journey, sharing your insights can help fellow enthusiasts create their own beautifully framed pieces. Remember, each framed artwork is a reflection of your dedication and artistic passion; a true masterpiece to cherish.