Uncategorized
Diamond Painting Tutorial For Beginners
So, you’ve decided to give diamond painting a shot, fantastic choice! You’re about to embark on a wildly satisfying journey that mixes creativity with just the right amount of mindless zen. Whether you’re an art aficionado, a puzzle master, or just someone looking for a new way to de-stress, diamond painting is about to become your next obsession. But before we dive into sticking tiny, glimmering diamond painting rhinestones onto a canvas, let’s break things down step by step. No stress, no confusion; just you, your creative spirit, and a whole lot of sparkle! That’s why we’ve put together this diamond painting tutorial for beginners to make sure you start off on the right foot.
What Even is Diamond Painting?
Take a break from reality and step into a world of color, light, and sparkle. Instead of paint, you’ll be working with tiny faceted beads (drills), each one a shimmering piece of a puzzle. With every careful placement, your vision transforms from a simple canvas into a breathtaking, glistening work of art.
It’s simple, satisfying, and kind of addictive (in the best way possible). You don’t need an art degree, just a willingness to follow the 5D Diamond Painting Kits instructions, place each drill in its perfect spot, and enjoy the ride.
And what’s even more exciting? The choices are infinite! Whether you’re in the mood for romantic, heartwarming scenes, legendary characters from Movies & Series, or tranquil Seascape scenes that transport you to the shore, there’s a diamond painting kit waiting for you. So, which world will you create first?
Diamond Painting Tools and How to Use Them
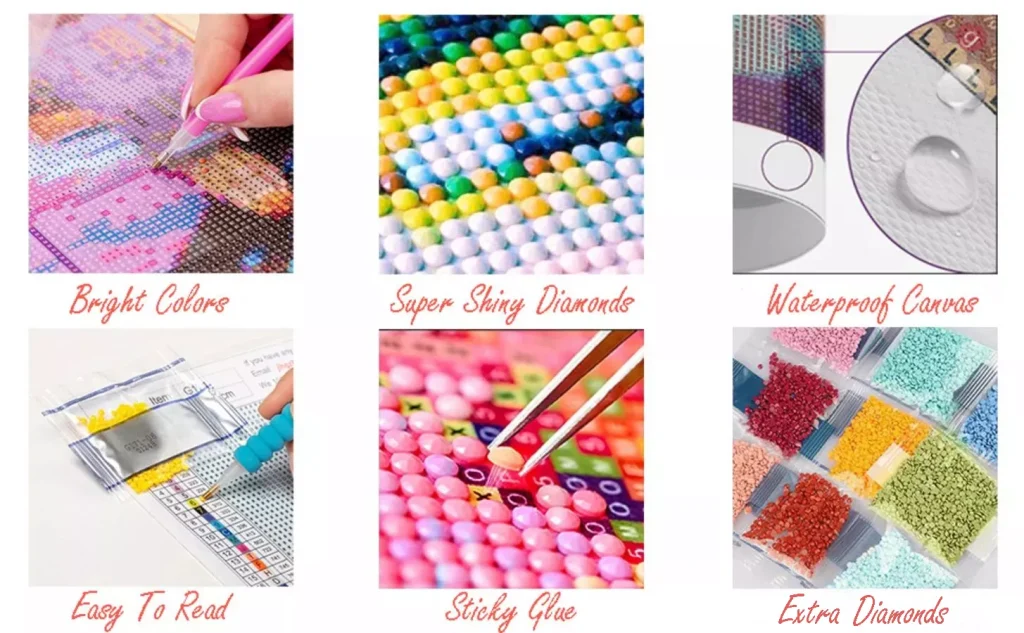
Before we get lost in the sparkles, let’s talk gear. When you open your kit, you’ll find some essential tools for diamond painting that will make your experience smooth and (hopefully) frustration-free:
- Canvas: Your blueprint. This is where all the magic happens, with each symbol telling you exactly where to place your drills.
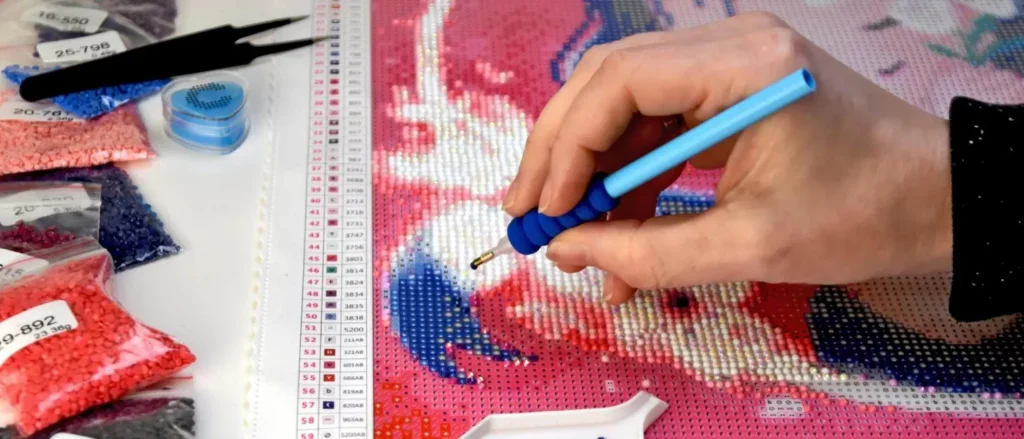
- Diamond Painting Drill Pens: Your MVP! These handy pens pick up and place the beads. Looking for extra comfort? Finding the best diamond painting pen will make a world of difference.
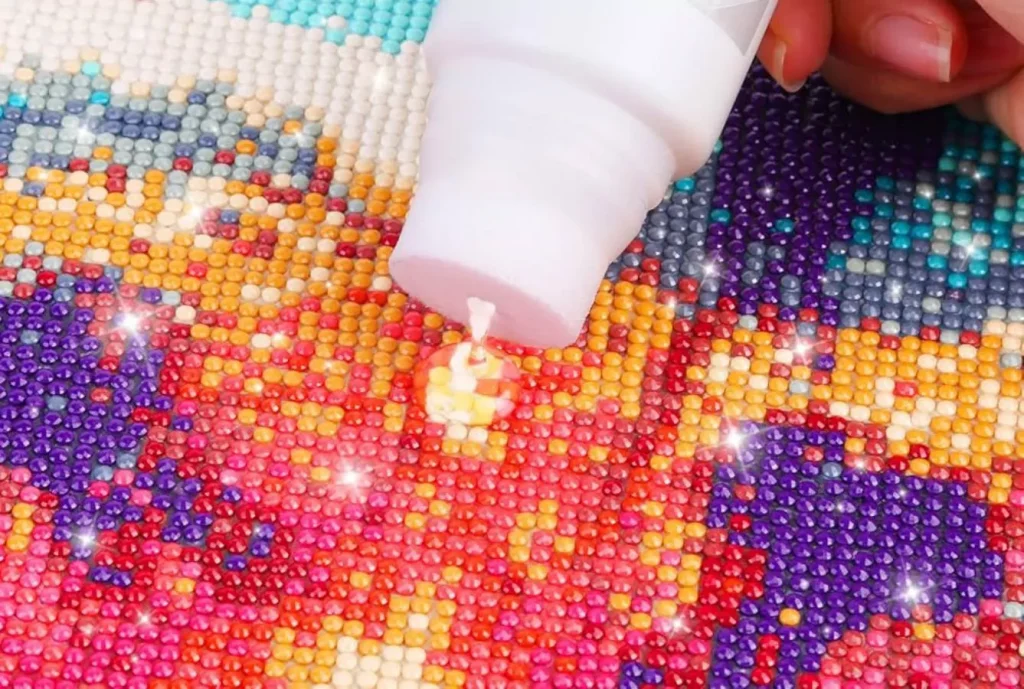
- Diamond Painting Glue Clay: Don’t skip this! This little pad of sticky magic helps your pen grab the drills so they don’t go flying everywhere.
- Extra Beads for Diamond Painting: These are the tiny, sparkly gems that bring your artwork to life. Prepare to find them everywhere; your table, your clothes, even your dog’s fur (oops).
- Diamond Painting Roller Tool: Once you’ve placed all your drills, roll over them with this bad boy to keep everything firmly in place.
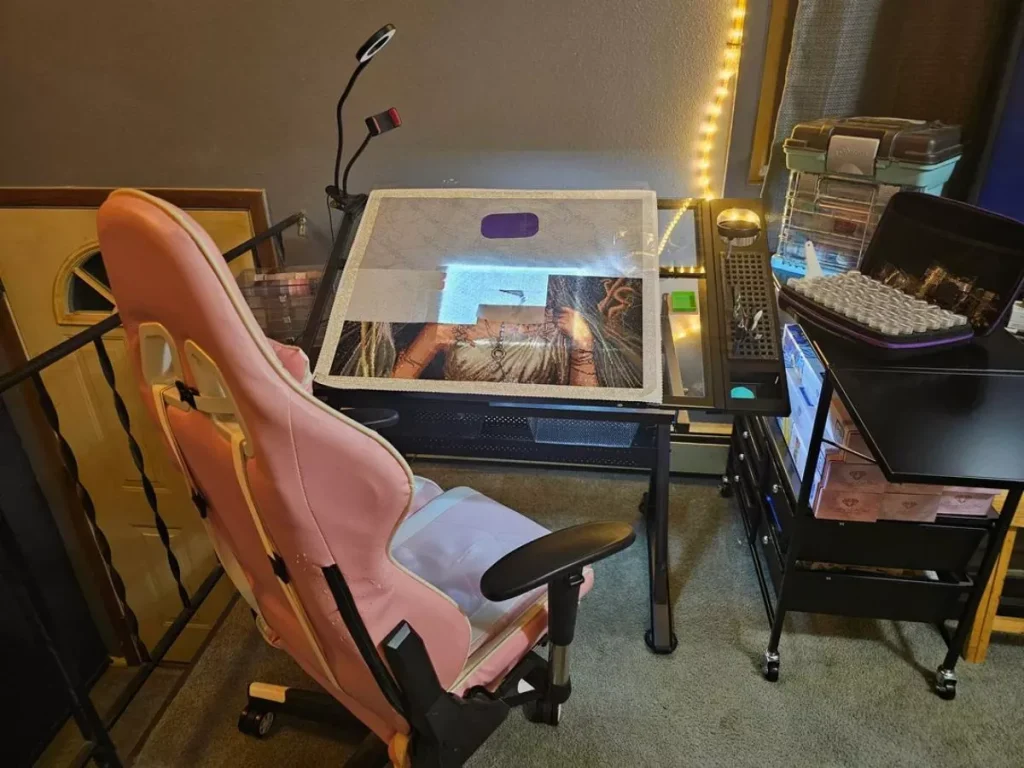
Setting Up Your Sparkle Station
Look, I get it you’re excited to start. But trust our diamond painting tutorial when I say, a good setup makes all the difference.
Lighting Matters!
Ever squinted at tiny details under dim lighting? Not fun. That’s why a light for diamond painting (like an LED light pad) is a game-changer. It brightens up the symbols on your canvas, making them easier to read and reducing eye strain. Your future self will thank you.
Best Table for Diamond Painting? Stability is Key!
Whether you’re working at the kitchen table, a craft desk, or your coffee table, make sure it’s sturdy. The best table for diamond painting is one that won’t wobble while you’re placing those delicate beads. Bonus points if you have a comfy chair—this is a marathon, not a sprint.
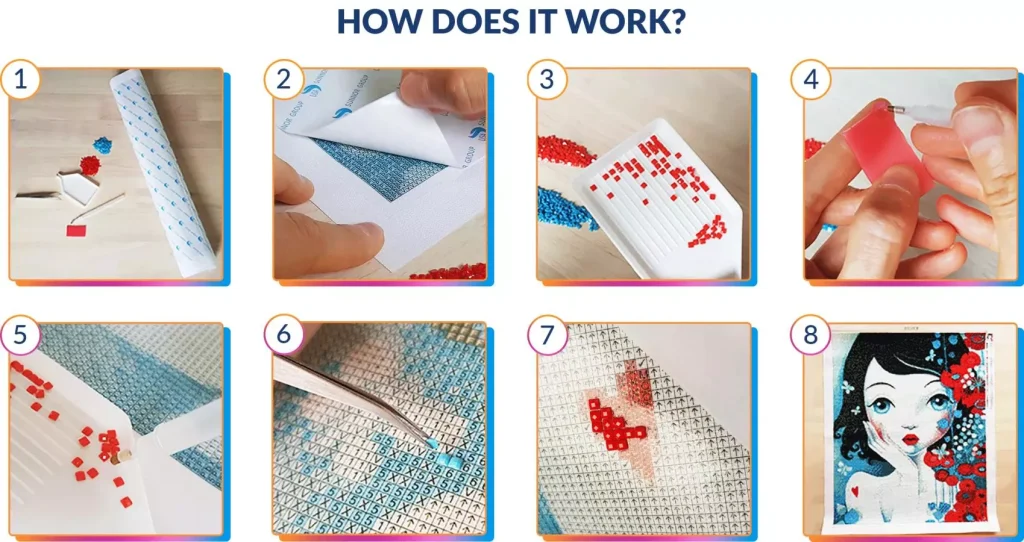
Let’s Get Painting: Step-by-Step Instructions for Diamond Painting
Alright, you’re all set up. Now it’s time to get your sparkle on!
1. Unbox Like a Pro
Lay out all your materials, flatten your canvas (place it under a heavy book if needed), and organize your drills.
2. Prep Your Tools
Load your diamond painting drill pen with glue for diamond painting to help it pick up drills like a boss.
3. Start Small
Peel back a tiny section of the protective film, don’t expose the whole thing, or it’ll turn into a lint magnet!
4. Place the Drills
Using your pen, pick up a diamond painting rhinestone and place it onto the matching symbol on the canvas. Repeat… and repeat… and repeat some more.
5. Press It Down
Once you’ve completed sections, use your diamond painting roller tool to make sure everything stays put.
How to Seal a Diamond Painting (Because You Want it to Last!)
Congratulations, you did it! But before you start showing off your masterpiece, you’ll want to seal it to keep all those beautiful rhinestones locked in place. Here’s how:
- Step 1: Run your roller over the whole painting to press down any loose drills.
- Step 2: Apply a clear sealant (mod podge or spray adhesive work great) evenly across the surface.
- Step 3: Let it dry completely before framing or displaying it.
Now, your artwork is permanently sparkling!
What to Do With Leftover Diamond Painting Beads?
If you’ve done a few kits, chances are you’ve got a growing pile of leftover drills. Instead of tossing them, why not get a little creative?
Crafts With Leftover Diamond Painting Beads:
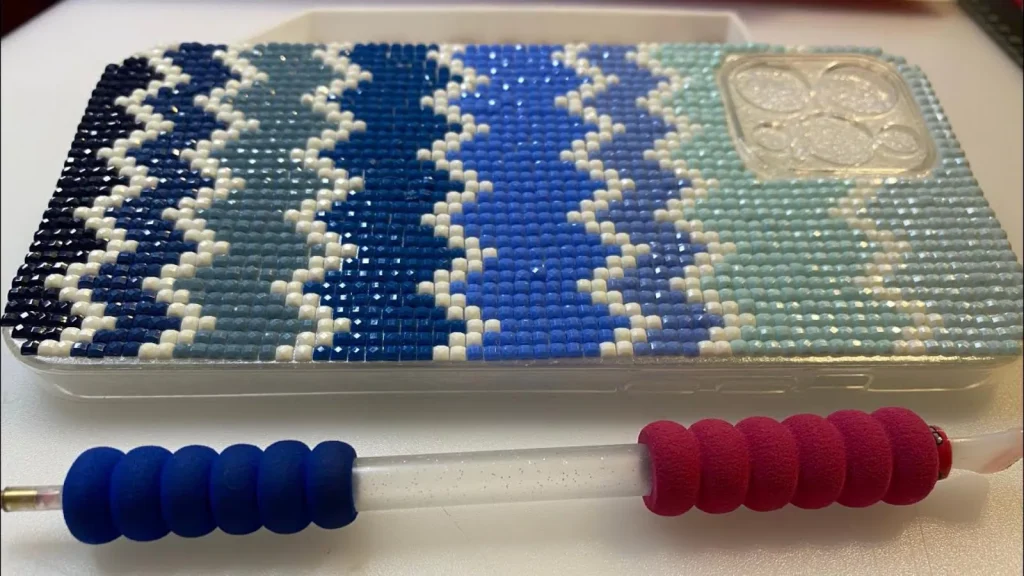
- Decorate phone cases with a bit of glue and leftover drills.
- Bedazzle greeting cards for a handmade touch.
- DIY jewelry and keychains just add some resin!
- Customize home decor (think flower pots, photo frames, or even coasters).
The possibilities are endless! So before you write off those extra beads as useless, remember, they can still bring a little sparkle to other parts of your life. Check more Ideas through our 8 Ways to Shine with Leftover Diamond Beads Blog!
Final Thoughts: Welcome to Your New Favorite Hobby!
Diamond painting is relaxing, fun, and totally addictive. It’s a creative escape from the chaos of everyday life, allowing you to unwind, focus, and create something truly stunning. Whether you’re a beginner just getting started or a seasoned painter looking for new challenges, this craft has something for everyone.
Now save this diamond painting tutorial and grab your painting with diamonds kits, find a comfy spot, and start your first project. Happy painting!