Uncategorized
How To Paint With Diamonds: A Step-By-Step Guide for Beginners
Diamond painting has gained immense popularity in the crafting world, offering a calming and creative way to create stunning and intricate works of art. If you are new to diamond painting or have experience, this manual will provide the basics of How To Paint With Diamonds by going through useful tips, and everything you need to create your diamond art.
If you have experience with paint by numbers, Diamond Painting crafts are based on a similar idea. The difference is that instead of using paint, you use small resin diamonds to create a stunning image on a canvas. However, you can rest assured that no prior experience is required! At the conclusion of this guide, you will be making good progress towards finishing your initial diamond painting project.
What You’ll Need to Get Started
When you order a diamond painting kit everything you need will come packaged neatly inside. Here’s what you’ll typically find:
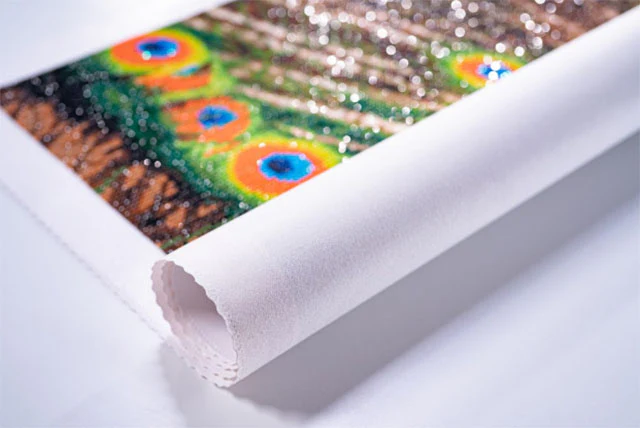
- Adhesive canvas: The canvas is pre-printed with your chosen design, broken into numbered sections that correspond to each diamond color.
- Resin diamonds: Tiny, sparkling diamonds (or “drills”) come in different colors. These will be what you place on the canvas to create your image.
- 5D Diamond paint pen: This tool helps you pick up each diamond and place it on the adhesive canvas.
- Tray: Used to hold your diamonds while you work, making it easier to grab them with your pen.
- Wax pad: This is used to give your diamond pen some grip, allowing it to easily pick up the diamonds.
Step 1: Preparing Your Workspace
Prior to starting your project, it’s important to have a tidy and well-arranged workspace. You’ll need a good amount of light and a level area to lay out your canvas and tools. This can be easily done using a desk or kitchen table. Ensure that your diamond pen, tray, wax pad, and diamonds are all within reach.
Pro Tip: Use a light pad underneath your canvas if you’re working in a dim space. It helps illuminate the symbols on the canvas, making them easier to see.
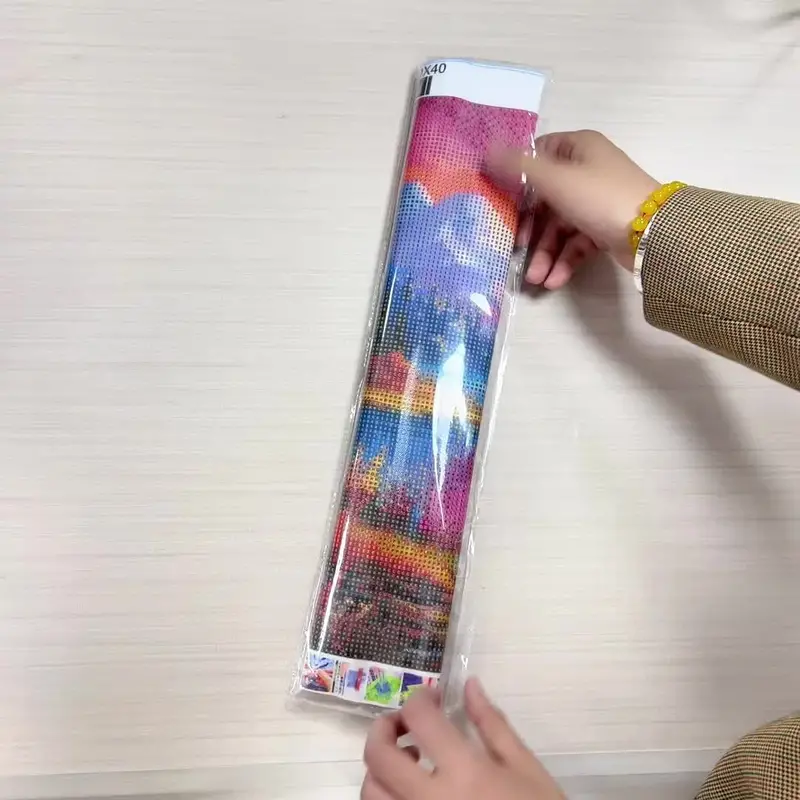
Step 2: Unrolling Your Canvas
The first thing you need to do is unroll your adhesive canvas from the kit and lay it flat. When there is a protective film covering the adhesive area, make sure to peel back small sections at a time while working. Do not remove the whole protective sheet all at once, as the adhesive may dry out or gather dust if left uncovered.
If the canvas isn’t laying flat initially, you can roll it the other way or apply heavy books to the edges to level it. After you have ensured that your canvas is both smooth and firmly positioned, you are prepared for the following stage!
Step 3: Organizing Your Diamonds
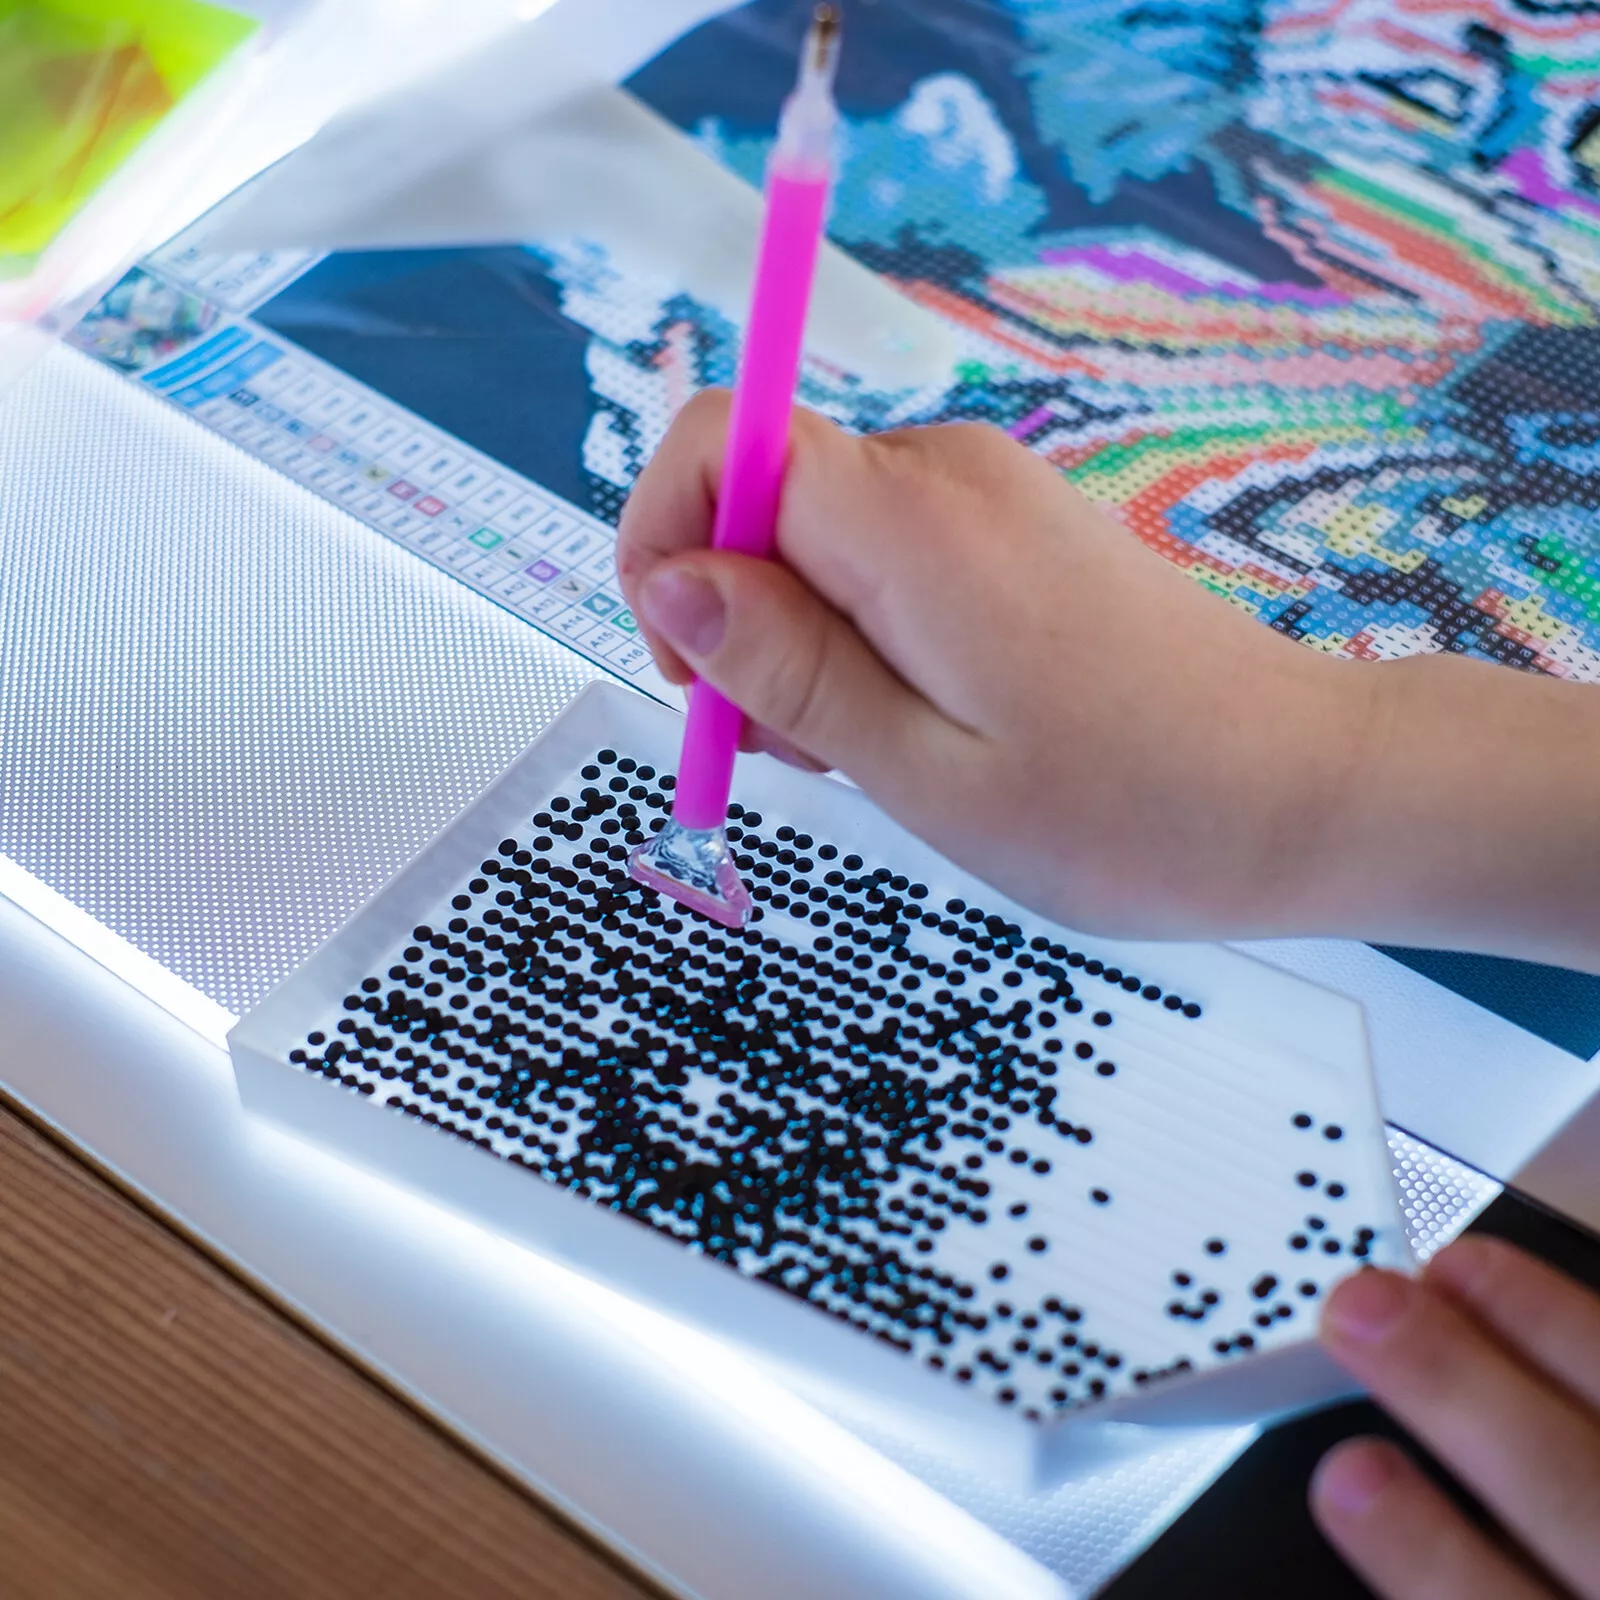
Each diamond painting kit comes with a guide or legend that is printed on the canvas. This key illustrates the matching symbols for each diamond color. It’s recommended to arrange the diamonds before starting to place them.
A lot of crafters prefer using small storage containers or zip-lock bags to organize their diamonds by color. Afterwards, every bag or container is marked with the matching symbol from the legend. This simplifies the process of selecting the correct color for your painting.
Pro Tip: If you’re working on a larger design, it’s a good idea to work on one section of the canvas at a time, starting with the background and gradually working your way to the more detailed areas.
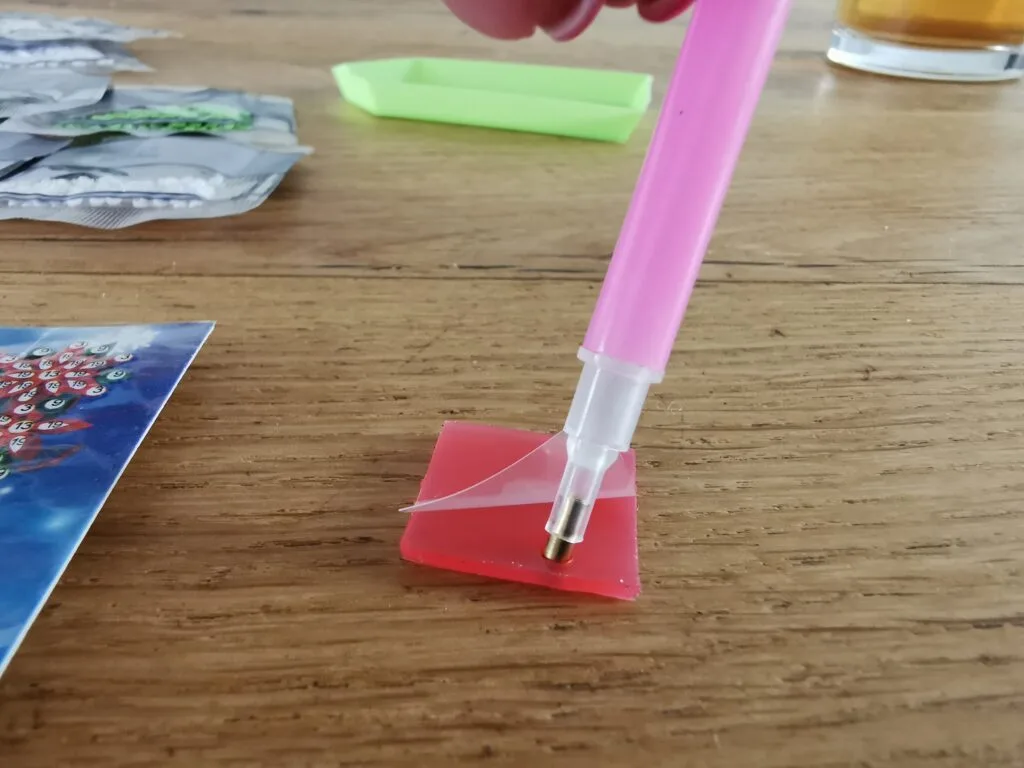
Step 4: Applying the Wax
You will use a Diamond Pen and a small amount of wax to collect your diamonds. Initially, use your diamond painting wax pad to softly push the tip of your pen onto it. The wax provides sufficient traction for the pen to grab the small diamonds, facilitating their placement on the canvas.
Pro Tip: You only need a small amount of wax for it to work, so don’t overfill your pen tip. You can reapply wax as needed throughout the process.
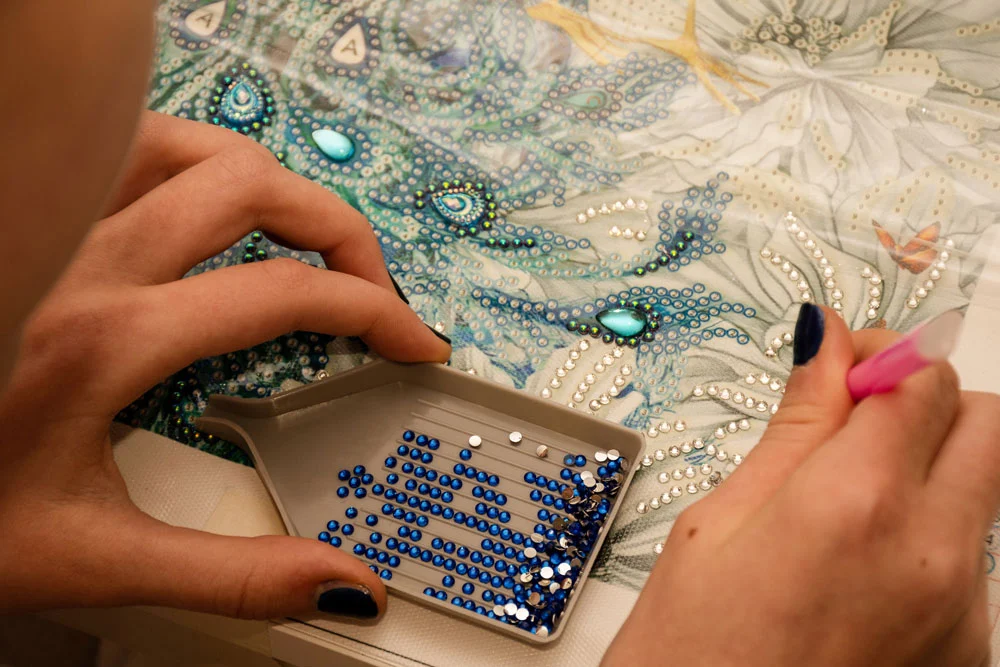
Step 5: Placing the Diamonds
Next up is the enjoyable part – placing the diamonds! Start by placing a few diamonds into the tray and then softly shaking it. This will assist in turning the diamonds upright, which will simplify the process of picking them up with your pen.
Using the Diamond Pen, pick up a diamond carefully and place it on the matching symbol on the canvas. The sticky substance on the canvas will grip the diamond securely. Keep working in small parts, consulting the guide and placing each diamond in the right spot.
Pro Tip: Be patient! Diamond painting is all about enjoying the process. You don’t need to rush; take your time to ensure each diamond is properly placed for the best results.
For a more personalized touch, you can also try Custom Diamond Painting, where you can transform your favorite photo into a dazzling work of art.
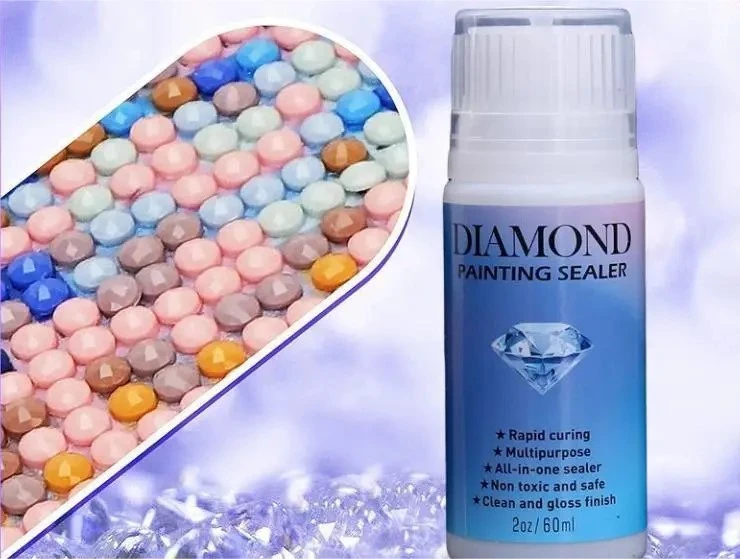
Step 6: Completing and Sealing Your Artwork
After you have arranged all the diamonds on the canvas and finished your artwork, pause to appreciate your glittering creation! Before showcasing it, it is recommended to seal your painting to prevent any of the diamonds from detaching in the future.
To do this, you can use a Diamond Painting Sealer, available online or at craft stores. Simply apply a thin, even layer of the sealer across the entire canvas using a brush or sponge. Let it dry, and your painting will be secure and ready to frame or display.
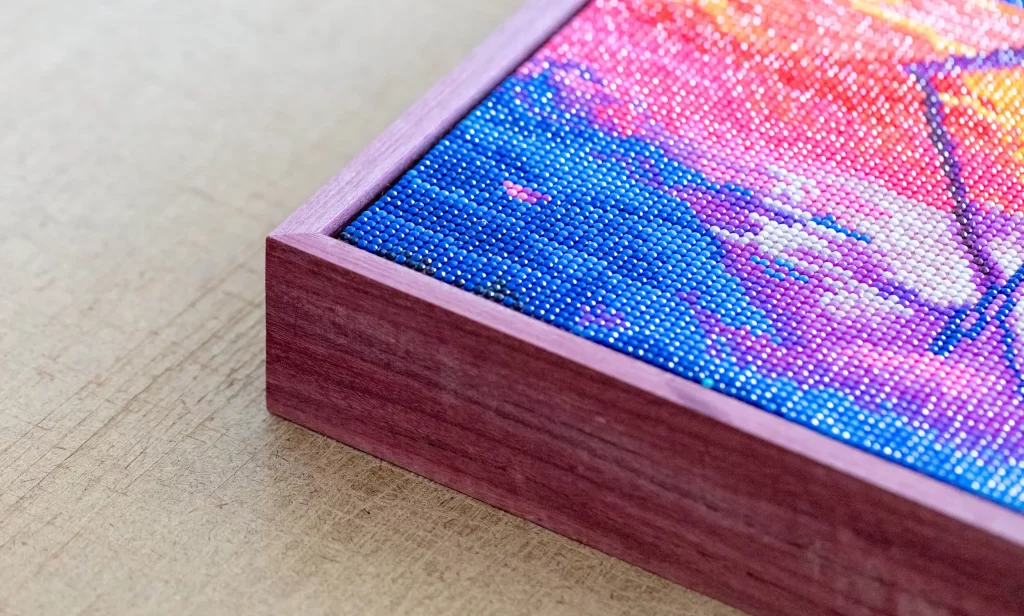
Step 7: Framing Your Diamond Painting
Now that you have finished your painting, it’s time to display it! Numerous artisans opt to display their high quality diamond painting kits in frames. Frames are available for purchase either online or at a nearby craft store. If your canvas is not a standard frame size, you can either have it custom framed or trim the edges to fit.
Pro Tip: Some people prefer to leave their diamond paintings unframed and simply hang them as-is on the wall for a more textured look.
Tips for Success:
- Take Breaks: Diamond painting can be time-consuming, especially for larger pieces. Taking regular breaks helps you avoid fatigue and ensures a fresh perspective when you return to the project.
- Keep It Clean: To avoid losing diamonds or picking up dirt on your canvas, always keep your workspace tidy. A clean space helps ensure smooth, uninterrupted crafting.
- Use Tweezers: While the pen works well for most placements, tweezers can be helpful for more intricate areas where precision is key.
- Store Diamonds Properly: If you’re stepping away from your project for a while, make sure to store your diamonds securely in labeled containers so they don’t get mixed up or lost.
Conclusion: Embrace the Sparkling Journey
Becoming skilled in Diamond Painting is a pleasurable and rewarding journey, offering a tranquil hobby with a beautiful result. Whether you are working on a complicated, intricate design or a simple, straightforward project, diamond painting provides a unique opportunity to unleash your creativity. Following the guidelines and recommendations outlined in this manual will equip you with the resources necessary to fully engage in the process and produce an impressive piece of artwork that you can be proud of.
So, the next time you’re ready for a new crafting adventure, head over to the Best Diamond Painting kits and pick up your next kit. Happy painting!